
✔ Available on
Grow and Scale
subscriptions. 1
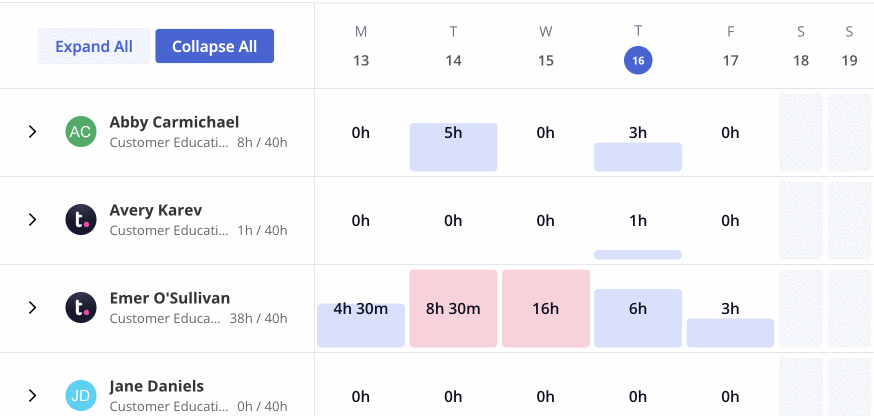
Within Teamwork.com, you can create
tasks and add unavailable time to the Workload
Planner to instantly view and manage the
impact on a user's capacity.
🔑 Client users and
collaborators cannot access the Workload
Planner.
- Select Planning from
Teamwork.com's main navigation menu. It
might be hidden under the ... More option.
- Switch to the Workload tab.

Tasks
Add a task
- Click the chevron (
 )
on a
user's left. This expands
the
user row to show the user's
associated projects (with
tasks
already planned) and
unavailable
time.📝 You can only add new tasks to displayed projects (aka ones where the user currently has tasks assigned within the selected time period).
)
on a
user's left. This expands
the
user row to show the user's
associated projects (with
tasks
already planned) and
unavailable
time.📝 You can only add new tasks to displayed projects (aka ones where the user currently has tasks assigned within the selected time period). - Scroll to the relevant project
row.
- Hover over the cell for the relevant
day.
- Click the plus (+).
- If the cell already has tasks falling on the associated day, hover in the blank part of the cell outside the existing task entries.

- Select a task list from the dropdown.

- Enter the task name.
- Set the task's estimated time.
- Click Create.

Delete a
task
- Click a task in the timeline.
- Select the ellipsis (...) in the task details
panel's top right.
- Click Delete task.

Unavailable
time
Add unavailable
time
- Click the chevron (
 )
on a
user's left.
)
on a
user's left. - Scroll to the Unavailable Time row.
- Hover
over the cell under the date the
unavailable
time should fall.
- Click the plus.
- Review the unavailable time details (assignee, start date, and end date) and adjust as necessary.💡 Assign unavailable time to multiple users: Click the assignee field, then check the box next to each relevant user.
- Set the duration. By default, the duration is set to all day and is based on the associated user's set working hours.
- To adjust the duration, uncheck the All day option. Click the hour total and enter the required hours and minutes.

- Set an allocation type (meeting,
public holiday, paid time off,
sick leave, training, or other).
- Add a description (optional).
- Click Save.
Edit and delete
unavailable
time
🔑 Site
administrators can edit and delete all
unavailable time entries. Standard users can
edit and delete unavailable time entries
they create.
- Click the chevron ()
on a
user's left.
- Scroll to the Unavailable
Time row.
- Click an unavailable time entry.

- Next:
- Edit: Update the entry's details (assignee, dates, duration, type, description), then click Save.

- Delete: Click the
trash can icon in the window's
top right. The
unavailable time is
immediately removed from the
timeline. An option to undo
appears temporarily in your
screen's bottom right.
For more information, see: Workload
Planner
Overview
1. Also available on legacy
subscriptions: Premium,
Enterprise.