
You have just
been invited to Teamwork Desk as an
agent, so now it's time to get set
up
and
start answering tickets!
We're here to
help you get
started as an
agent in
Teamwork
Desk. View and
manage
customer
queries,
priorities
their
issues, and
solve
problems in an
efficient and
productive
manner. | Curriculum |
|---|---|
| ◑ Configuring your
user
profile | |
| ◑ Updating
your
notification
preferences | |
| ◑ Exploring
the Home area | |
| ◑ Starring
inboxes | |
| ◑ Viewing
and replying to
tickets |
Configuring
your user
profile
Uploading a profile photo and
filling out your personal
details
will personalize your profile
and
help your team connect with
you.
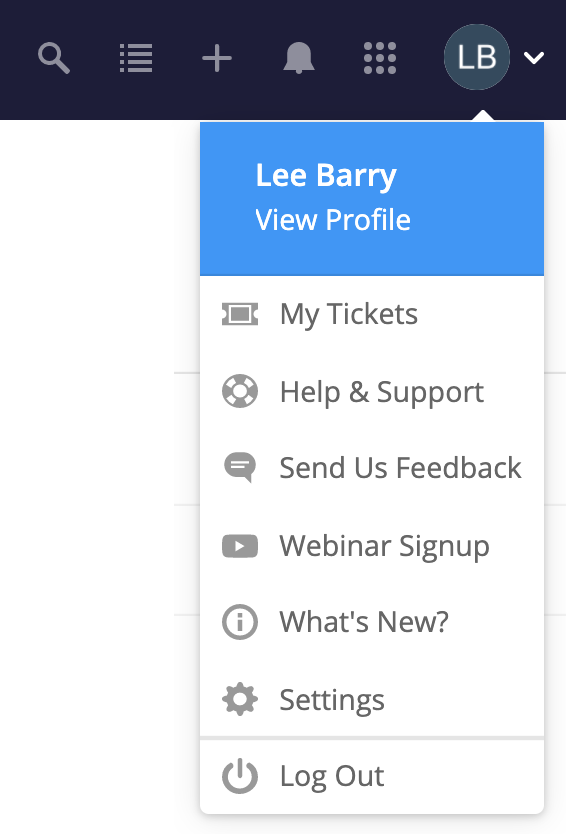
Click your profile avatar in
the
top
right of your Teamwork Desk
account
and select View Profile from
the dropdown menu.
Click the Edit
Profile button in the
top
right of your profile area to
update
your personal details.

Your profile details
are grouped into three
subsections: general,
details,
and
preferences.
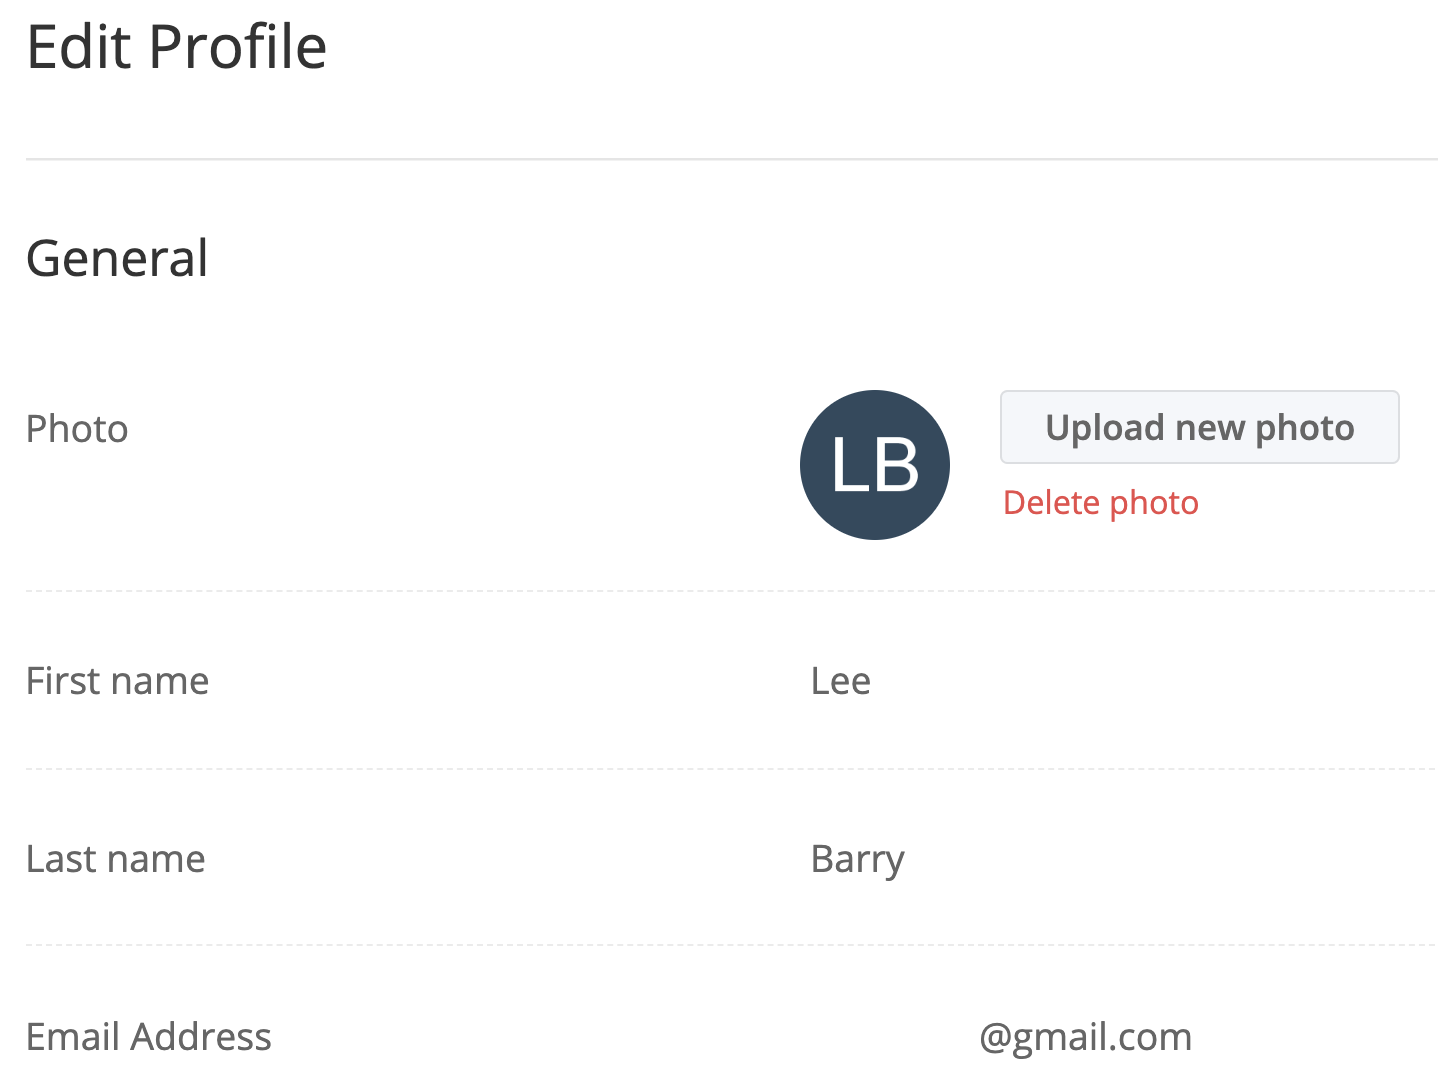
In the General section,
you can update your
profile
photo
as well as your first
name,
last
name, and email
address.
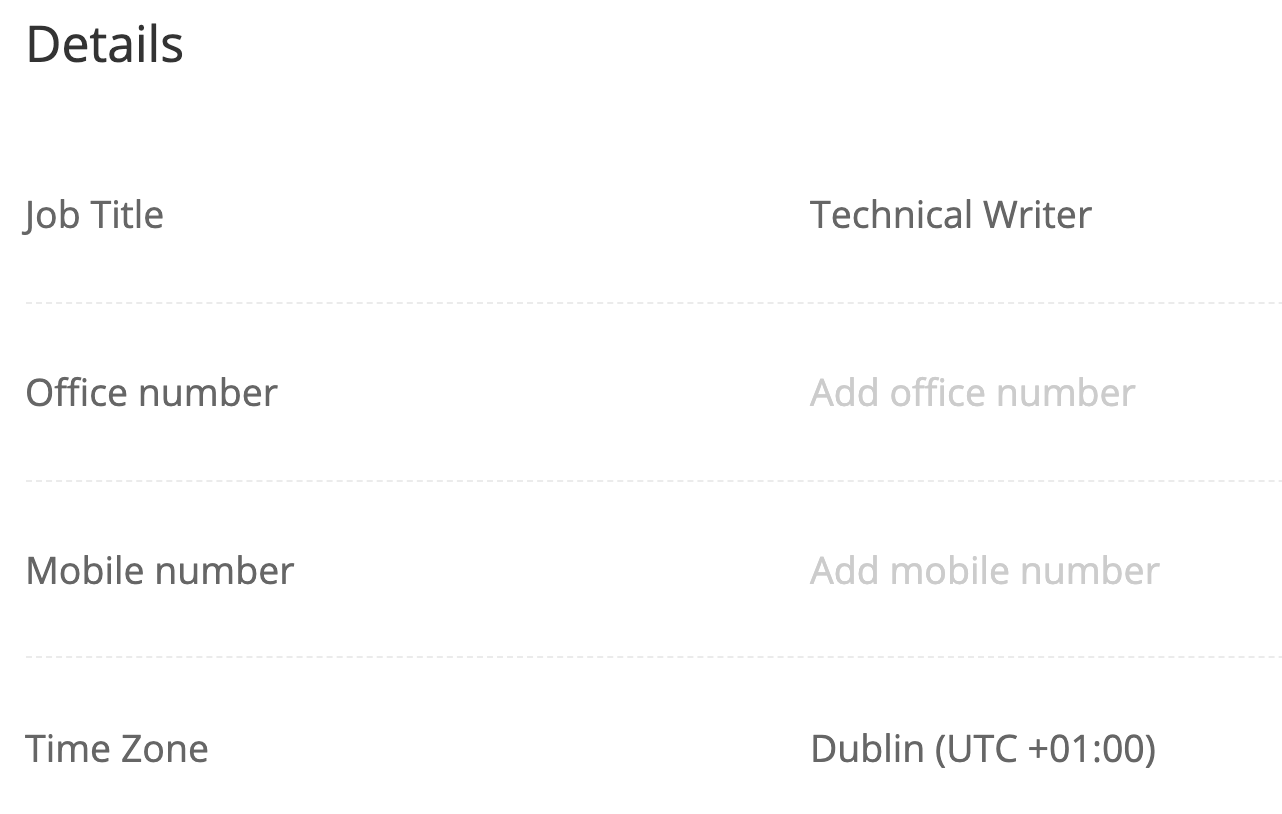
The Details section includes your
job title, contact phone numbers, and time
zone.
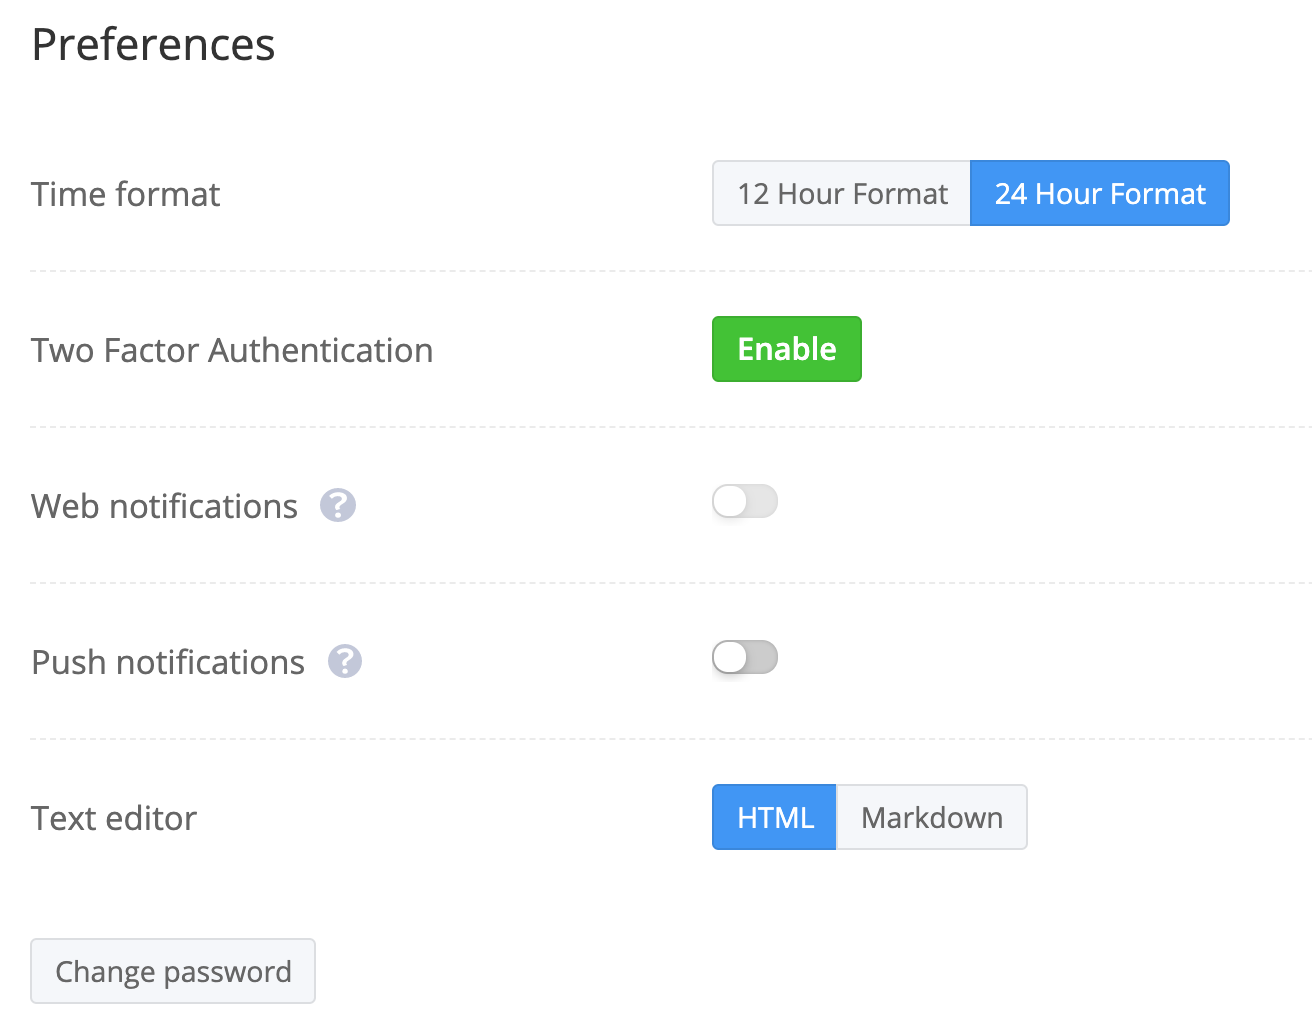
In the Preferences section, you will
also be able to specify your time format
preference, turn on two-factor
authentication,
enable web and push notifications, choose
between HTML and Markdown formatting, and
change your password.
Why not give it a try and upload a
profile photo to make yourself
recognizable to
your team?
Customizing
your notification
preferences
Next, let's take a look at
your
notification preferences so
that
you can receive updates for
the
items most relevant to
you.
Select
the Notifications tab
at the top of your
profile.

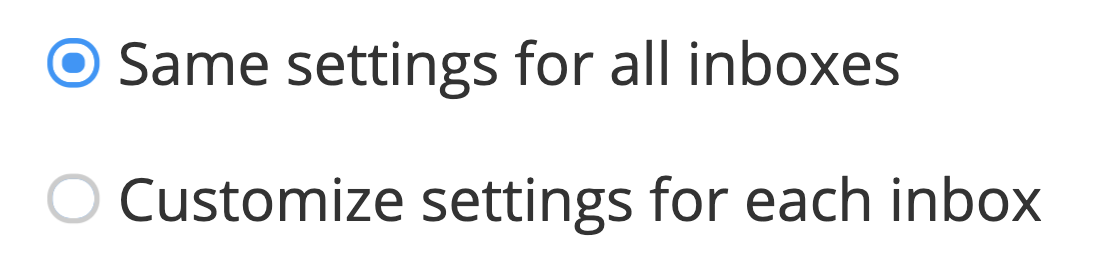
At the top of
the
Notifications area, you
can
choose whether to apply
the
same preference across all
of
your inboxes, or set them
individually per
inbox.
For each individual notification
option, you can receive alerts via
email
and/or mobile. Check the relevant box
to
the
right of each notification type to
enable
the
alerts.

Exploring the Home
area
Now that you've got your profile
set
up,
let's explore the Home area.
The Home area is the default
landing
page for your site and can provide
you
with a
quick overview of what's happening
across
your
tickets and inboxes, and is broken
down into three subsections.
The Summary tab gives you
a
big-picture breakdown of
your
starred inboxes, tickets
assigned to you, and the
inboxes you have access
to.
An additional
Training Wheels panel will
be
displayed if the feature
is
enabled on your site, and
you
are currently in training
or
have permission to review
tickets.
- As an agent in
training,
you would only see
figures
related to your own
tickets under
review.
- As a reviewer, you
would
see a count of all
tickets
under review across
the
inboxes you have
access
to.
If happiness ratings
are enabled for your site,
you
will also see an overall
company happiness chart in
the
Summary tab. This can be
set
to the last 7 days, 14
days,
or month.
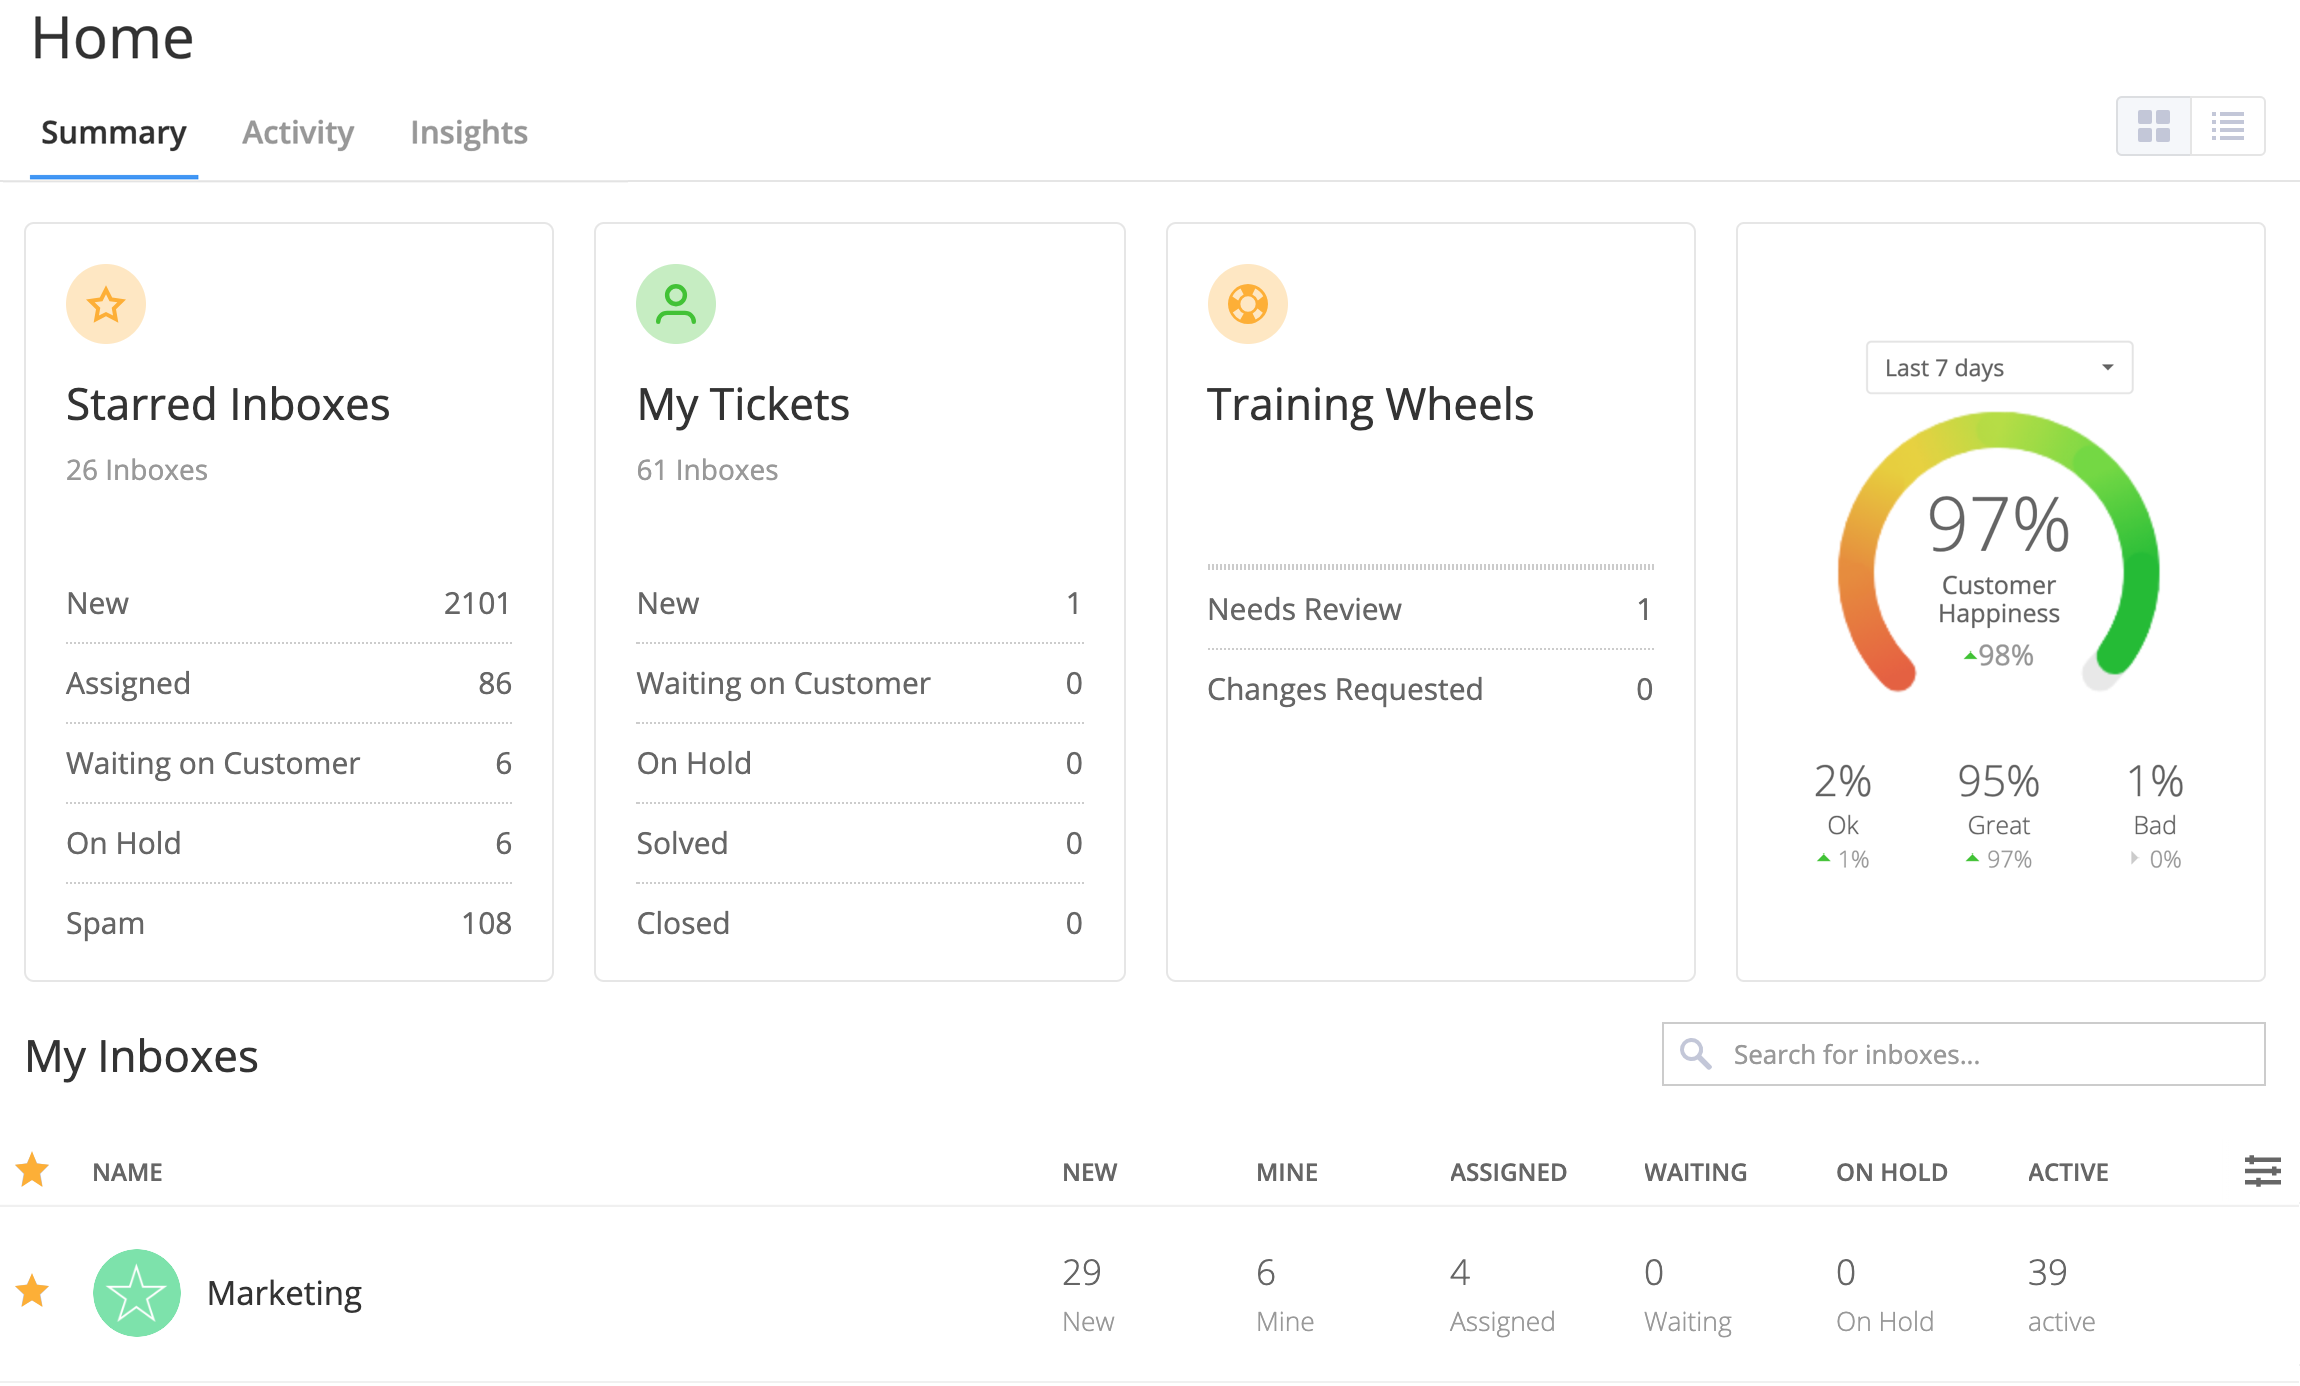
From here, you can also view
the
inboxes you have access to.
Each
number is clickable and will
bring
you directly to that section
of
the associated inbox.
The
Activity tab shows all
activity
across
your site, including
ticket
views,
status
changes, replies and
more.
In the
Insights section,
you'll get
an overview
of relevant
information regarding
tickets
and
your
agents.
The volume and
average
response time
is an interactive,
visual
representation of
the
amount
of
tickets, replies,
and
response
time in
a given time
frame.
Check
out
more on
Teamwork Desk
metrics
by
reading our
help doc article here.
Starring inboxes
In Teamwork Desk, you can
star
your
most important inboxes to add
them
to
a unified section of your
Tickets
area. This helps improve
efficiency,
allowing you to manage and
reply
to
tickets from multiple inboxes
through
a single view rather than
jumping
between inboxes when new
tickets
arrive.
Inboxes can be starred
either from the Home area
or
via
the Inboxes section of your
profile.
Simply click the star icon to
the
left
of each relevant inbox to add
or
remove it from your Starred
Inboxes
view.
To access the unified
Starred Inboxes view, go to
the
Tickets area of your
site.

In the left sidebar, click Tickets to expand the
list
of
individual inboxes you have access
to.
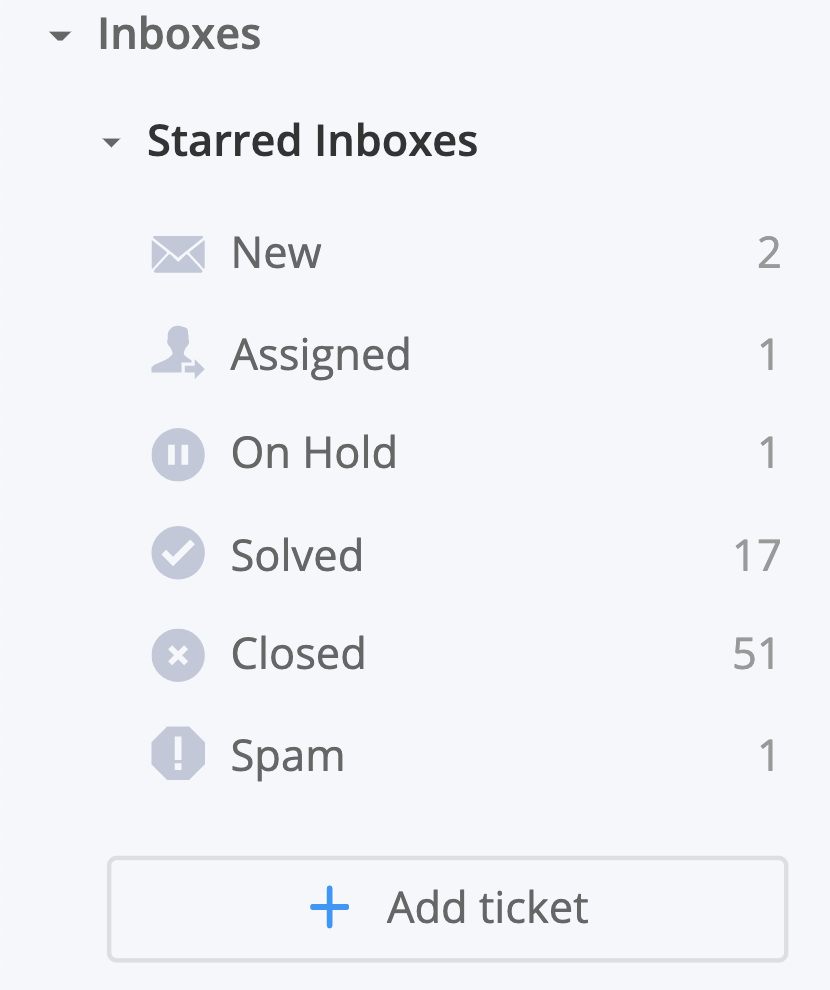
At
the top of this list, you will see
an
option for Starred
Inboxes.
Similarly to individual inboxes,
this
view
is broken down by ticket
status.
Viewing and replying
to tickets
Having explored the Home area
and your starred
inbox,
let's get to work on the core
aspect
of your workflow -
tickets!
Every inbox you have access
to, along with its associated
tickets,
can be accessed through the
site-level
Tickets area.

The Inboxes section of
the
navigation pane on the
left is
grouped by inbox. At the
top
of
the list, you will see
your
Starred Inboxes view (as
described
earlier) followed by a My
Tickets
section which holds
tickets
specifically assigned to
you
across all inboxes.
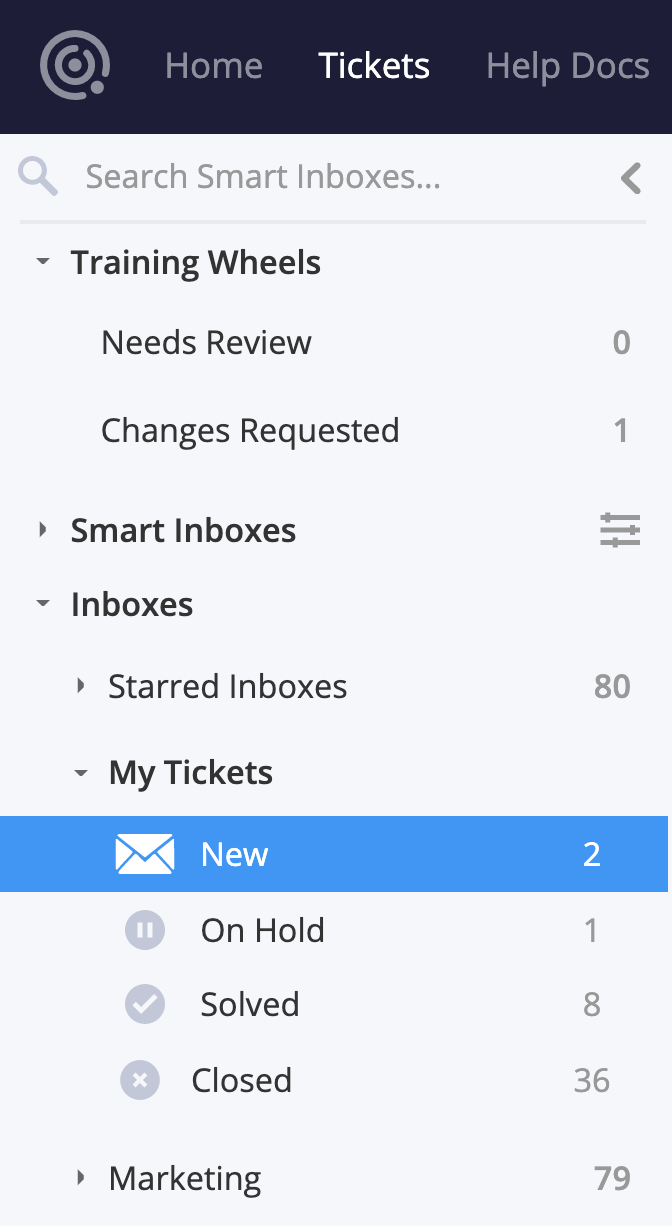
Below these two sections will be
entries for each individual inbox you
have
access to. Every inbox view is broken
down
by
ticket status, allowing you to quickly
oversee
specific tickets such as new
unactioned
tickets, ones waiting on a reply from
the
customer, etc.
The New section
of
each inbox contains any
new or
unassigned active tickets
in
need
of a reply from an agent.
By
focusing on the New
subsection
of
the Starred Inboxes view,
you
can
view and manage tickets in
need of
attention in a single
location.
Workflow efficiency is
enhanced
by
Teamwork Desk's inbuilt
collision
detection feature, meaning you
can
see
at a glance where others are
working
and which tickets still need
attention. When you are
viewing a
list
of tickets in a particular
inbox,
any
ticket that is currently being
viewed
by another agent will show
their
profile picture beside the
customer
name. If an agent is replying
to
the
ticket, you will also see a
pencil
icon.

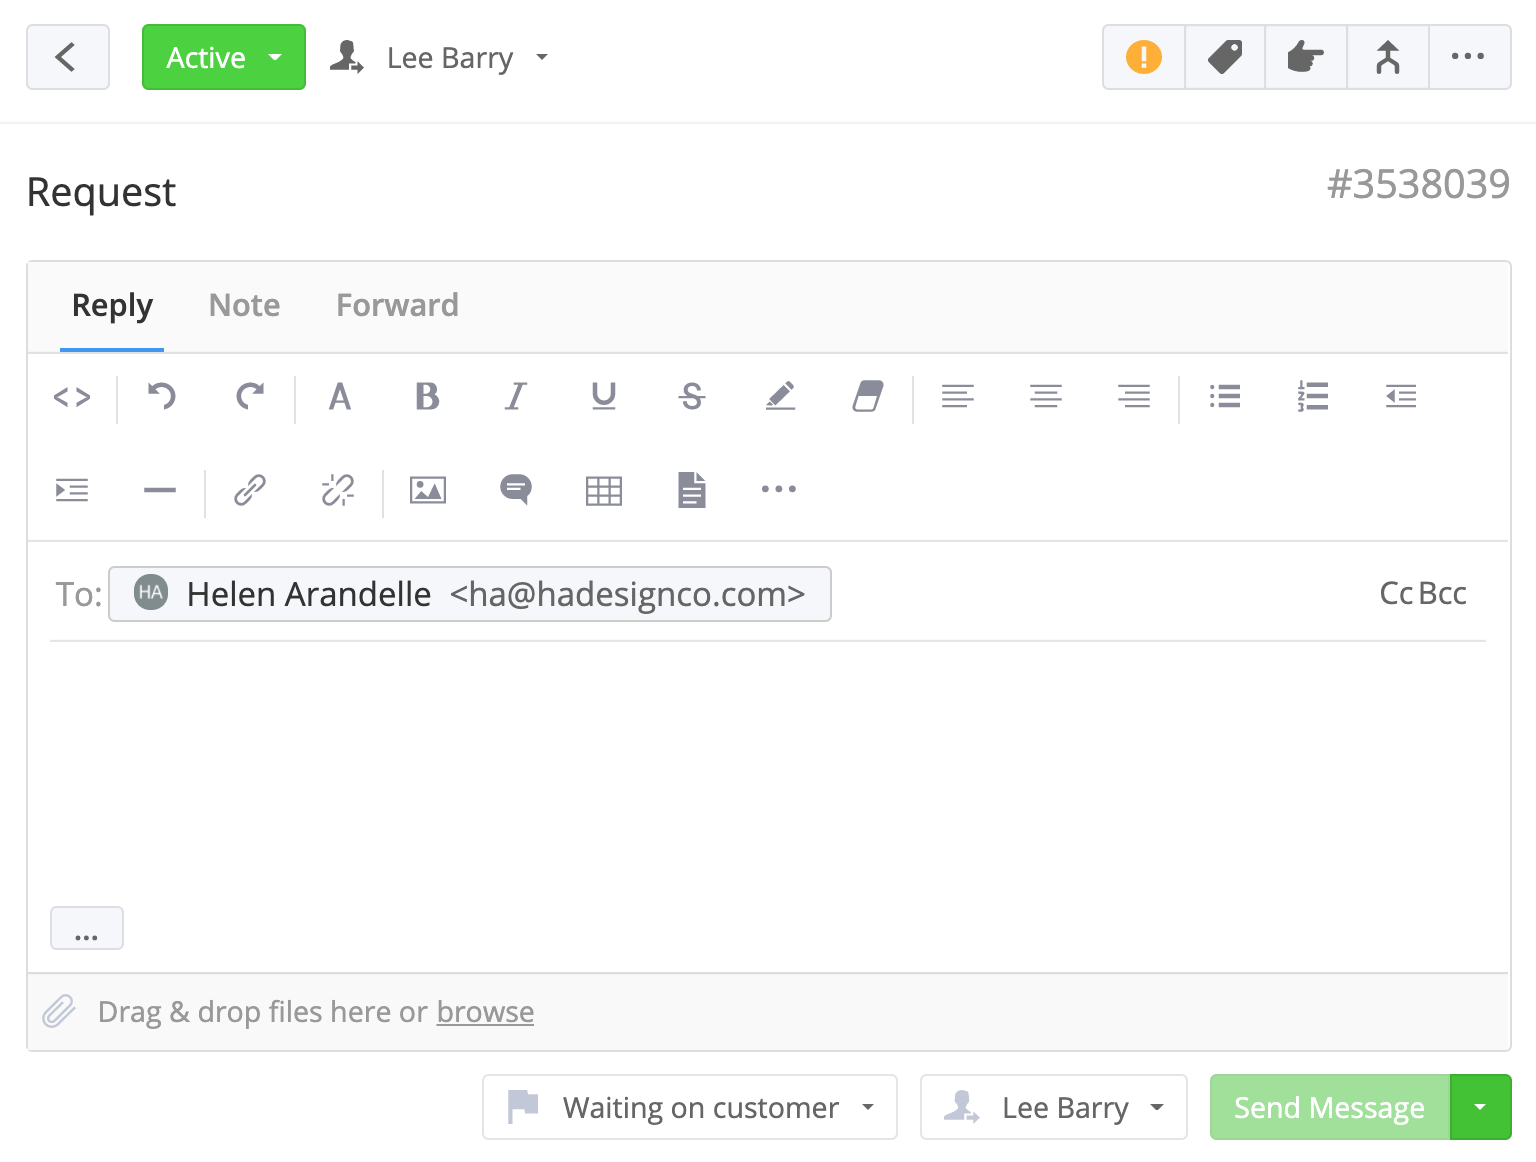
Clicking an individual
ticket in the list will open
the
associated ticket thread and
an
editor
to send replies to the
customer.
Just
click into the text area of
the
reply
tab to expand the editor
options.
Let's look at the
different
editor options available
to
you:
| WYSIWYG
Editor
Options | |
|---|---|
 | View
source -
view/edit
the
source
code for the
reply. |
 | Undo
| Redo |
 | Text
style |
 | Bold
| Italic |
Underline |
Strikethrough |
 | Clear
formatting |
 | Left
align | Center
align |
Right
align |
 | Unorderd/bulleted
list
|
Ordered/Numbered
list |
 | Outdent |
Indent |
 | Insert
horizontal
rule |
 | Insert/edit
link |
Remove link |
 | Upload image |
 | Insert canned
response |
 | Insert
Table |
 | Upload
File |
 | Text
Direction
l
Left/Right |
At the top of the ticket
view,
you can access some quick
action
items to change properties
of
the
ticket. Why not assign the
ticket
to yourself so your team
knows
you
are working on it?
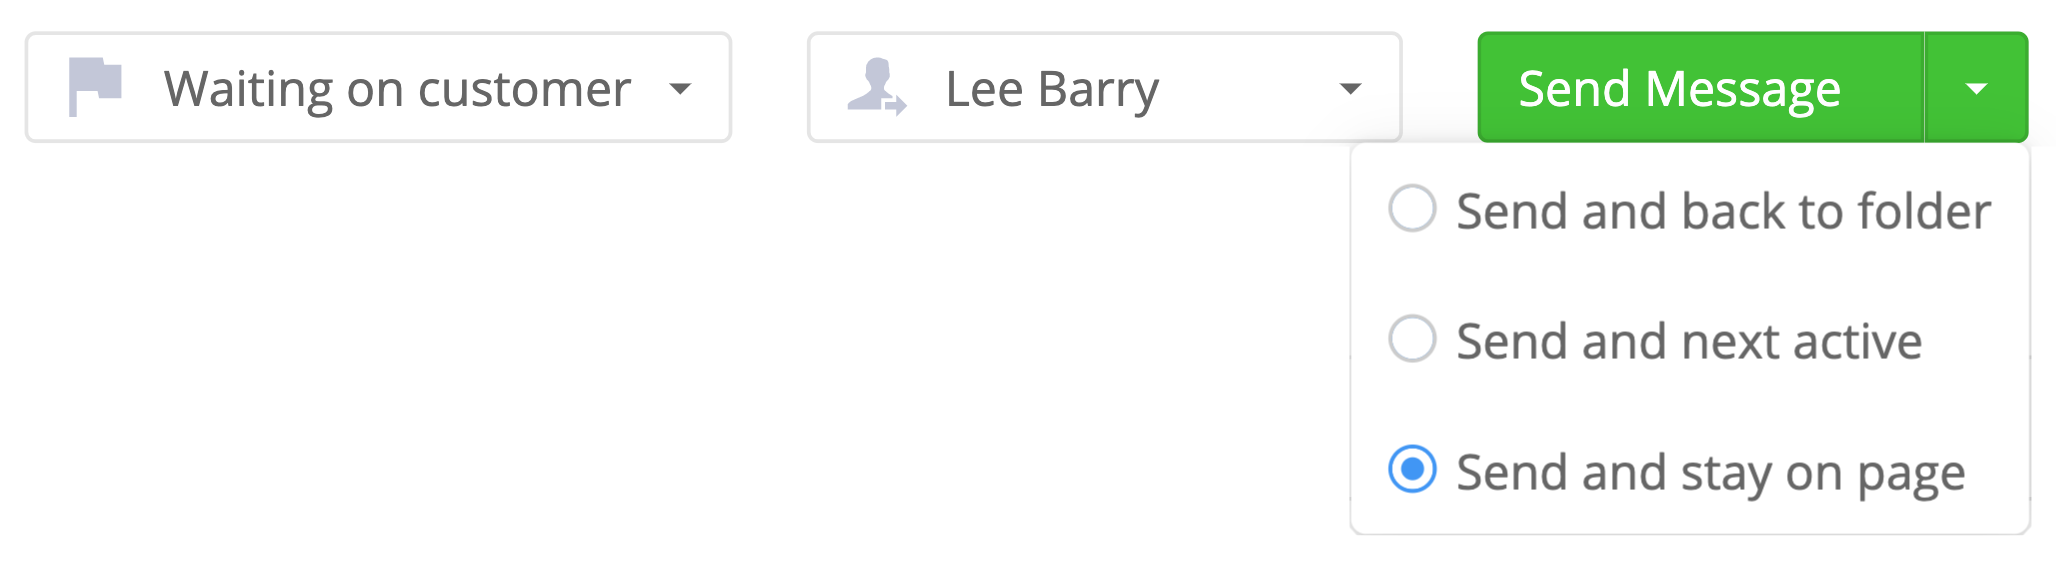
When you are ready to send
your reply
to your customer, you can
choose
the
status you want your ticket to
be
in
such as waiting on customer,
and
also
change the assignee if you
wish.
These
property updates will take
effect
once
you click Send
Message.
The Send Message button has
an arrow to the right where
you
can
customize the navigation
behavior
for
once you send the message. You
can
choose:
- Send and back to folder -
returns
you to the ticket list you
opened
the ticket from.
- Send and next active -
automatically open the
next
active
ticket in the inbox.
- Send and stay on page -
remain
in
the current ticket after
sending
your reply.
| Summary | |
|---|---|
| Now
that you have
completed the
introduction
to Teamwork Desk
for
agents, you can
easily
take the following
actions
on your
site: | |
| Chapter | Skill |
| Configuring your
user
profile | ✓ Upload a
profile
photo ✓ Customize
your
profile
preferences |
| Updating your
notification
preferences | ✓ Access
your
notification
settings
in your
profile ✓ Adjust
your
notification
preferences
for
email
and
mobile |
| Exploring the Home
area | ✓ Access the
subsections of
the Home
area ✓ View and
manage
your starred
inboxes |
| Starring
inboxes | ✓ Customize
which
inboxes are
displayed
in your
Starred
Inboxes
view ✓ Access the
Starred
Inboxes
section of
the
Tickets
area |
| Viewing and
replying
to
tickets | ✓ Open a
specific inbox
in
the
site-level
Tickets
area ✓ Open an
individual
ticket and
explore
the
editor and
ticket
options ✓ Reply to a
ticket
and customize
the
send
message
setting |