
Within the Teamwork.com Beta Program,
you can enable custom table views
to
add an additional table-style view
for
different areas of your
site.
Enabling custom table
views
Click your profile icon
in the bottom left corner of
your site and
select Settings from
the
dropdown menu.

Note: Only owner
company
site administrators can access the
site
settings to manage the Beta
Program.
In the settings area, select
the Beta
Program tab
and
scroll to the option
for Custom Table
Views.

Toggle the switch on the left to
enable the feature. Using the
dropdown
on the
right, you can also choose whether
to
enable
it for all users on your site, or
only
members
of your owner company.

Once enabled in the Beta Program,
you
will be able to access custom
table
views in various areas of your
site:
- Home > My projects
- Projects area (List view)
- Everything > Tasks
- Everything > Completed
tasks
- Profile > Projects
- Profile > Tasks
- Profile > Completed
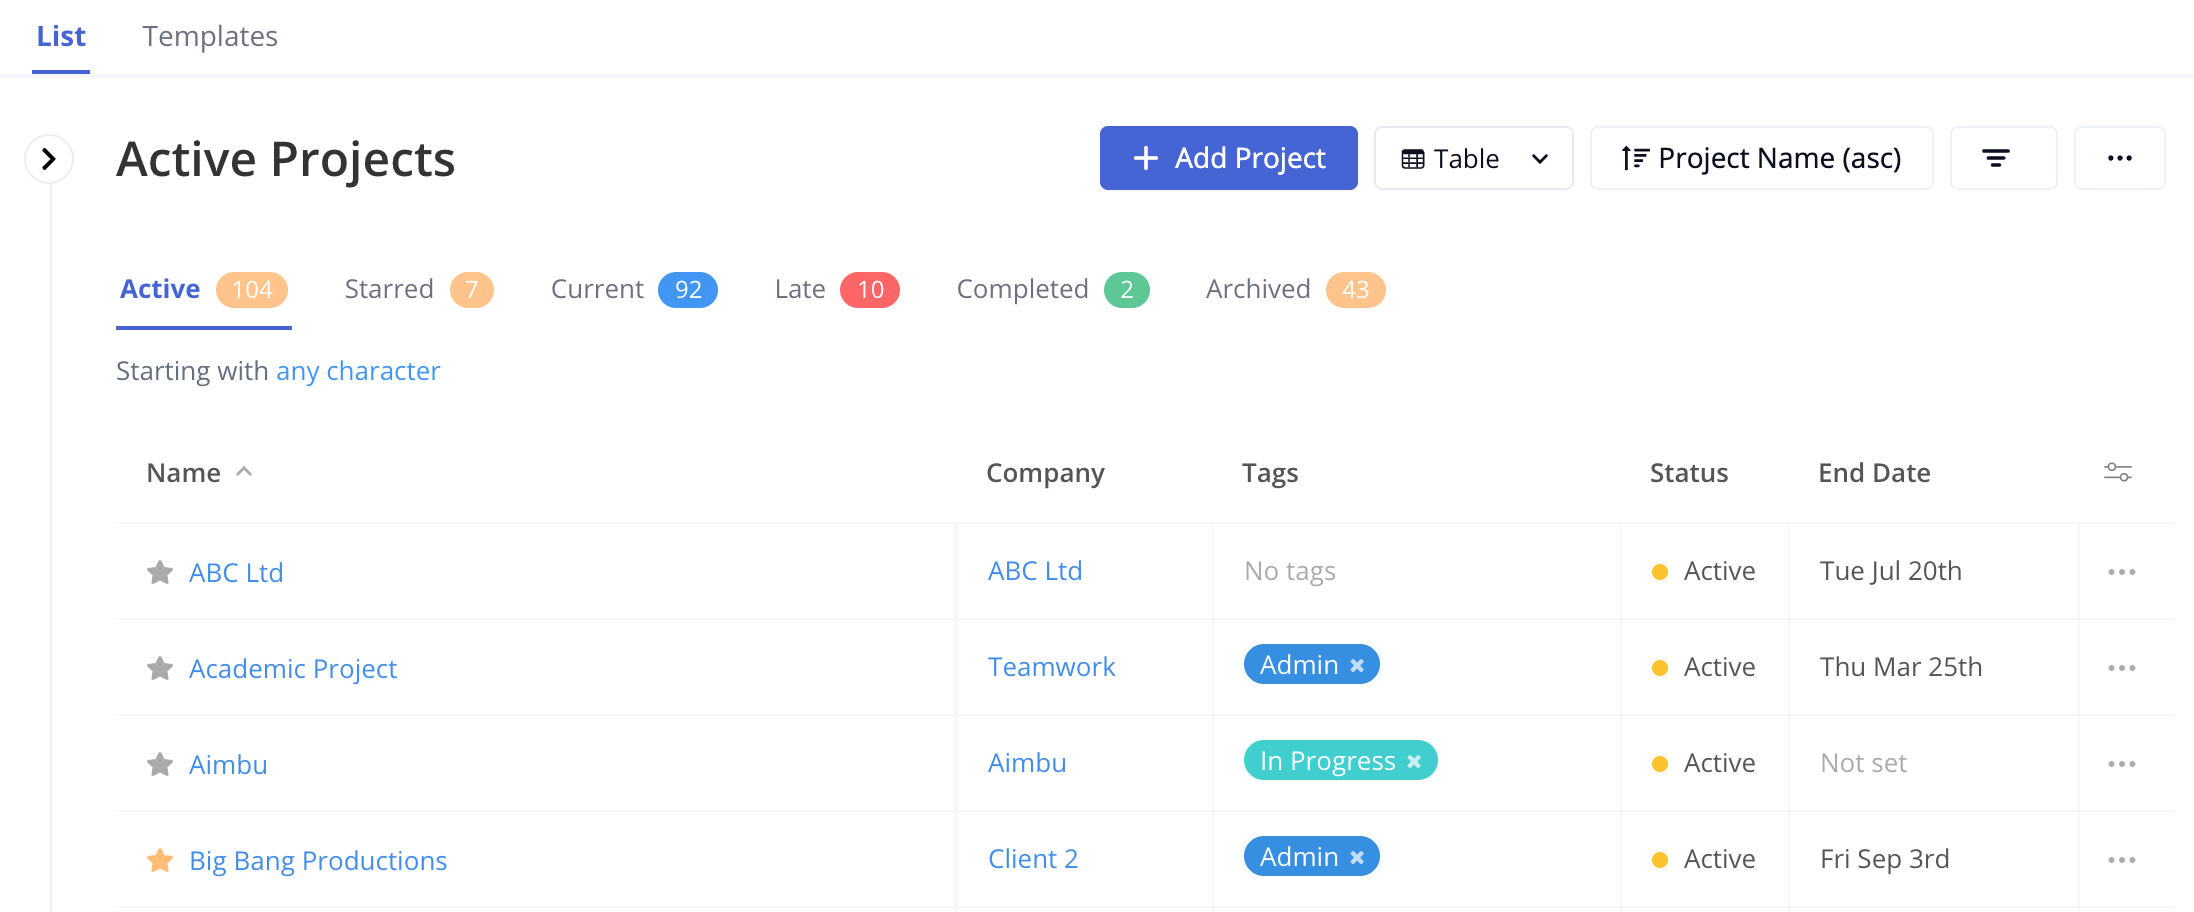
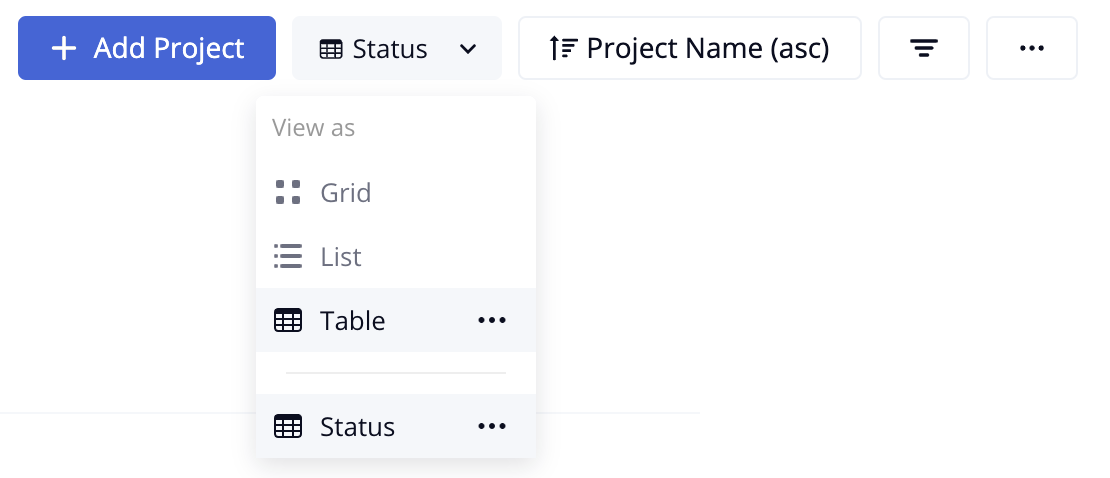
Switching to table
view
In supported areas where
switching
views is available, click the view
field in the top right and
select Table from
the dropdown.
The view will update
to display
the
relevant information in a
table
form,
with each item on a different
line
and
separate columns for each
property.
Customizing a table
view
With custom table views, you can
choose which columns to display.
The
column options will vary depending
on
which area of the site you are
in.
Once you have table view selected,
you
will see a manage option to the right
of
the table header. This will open a
dropdown where you can toggle on and
off
individual property columns.

For projects,
the Last
Updated column refers to
activities performed across the
project, while the Last Worked
On column refers to activities
performed by the logged in user. If no
supported activity has occurred on a
project, the field value will display
as Not Set.
Click More
options at
the bottom of the dropdown to open the
full customization modal. You can use
the
checkboxes on the left to show and
hide
different properties related to the
item. The selected options will
appear on the right where you can drag
to
reorder them.
Note: The
Options column
cannot
be reordered in the table and will
remain
fixed to the right of the table.
For projects and tasks, you can
also
select existing custom
fields to be
displayed as columns in the table.
In
the Customize View modal,
scroll to
the bottom of the properties list
on
the left to access the custom
fields.
Note: Custom fields are
available on per-user Premium/Grow
subscriptions and above.
Click Update to
save your changes to the table
view.
Saving table view
customizations
When table view is active in
an
area, you can
save the customization you
have
currently set. Click the view
dropdown and select the three
dots
to the right of the Table
option
before
clicking Save.
Note: Saved views
are
not supported for tasks
Table
view on a project or
in people and teams related
areas.
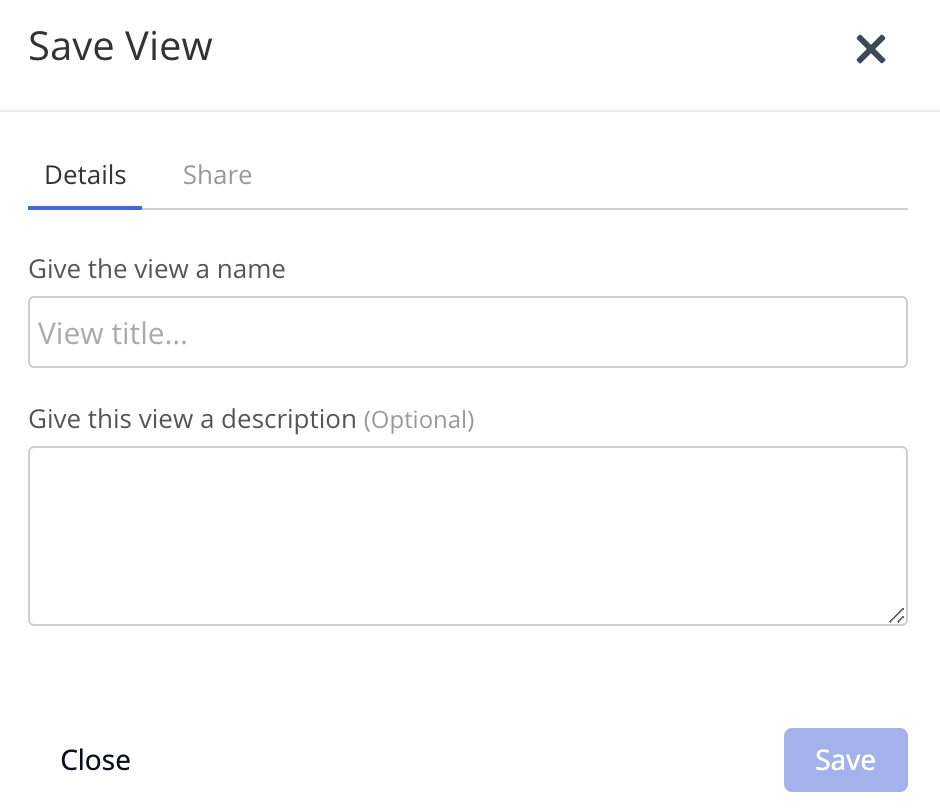
When you click Save, a
pop-up
modal will open where you can name the
view and give it a description. You
can
also share the view with other users
via
the Share tab.
The custom view will be added to the
views dropdown, allowing you to toggle
to
it at any time.
Any users the custom view is shared
with
will automatically be able to access
it in
the view dropdown.
For each saved custom view you
create,
you can access additional options via
the
three dots to the right of the view
name.
These options include:
- Customize - update the selected
columns and where they display in
the
table.
- Edit - update the view name,
description, and who it is shared
with.
- Make a copy - create a new saved
view
based on the existing one.
- Delete - delete the saved
view.
Note: For views that have
been shared with you, you will only
see
the option to make a copy.
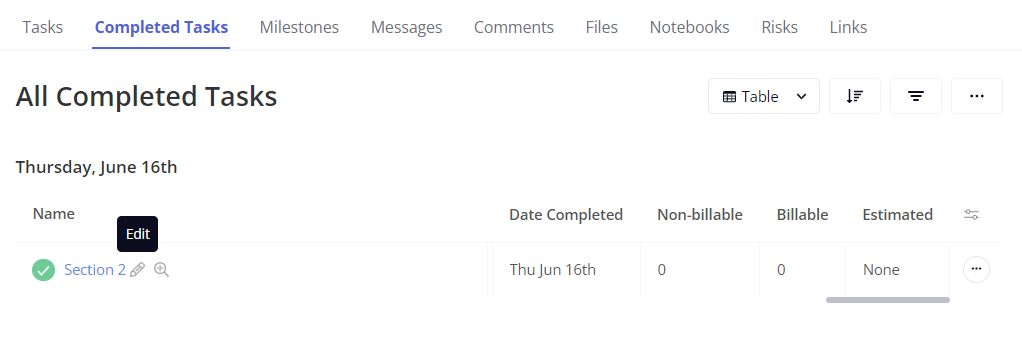
Scrolling table
view
Depending on how many columns
you
have enabled for a table view,
a
horizontal scrollbar will be
displayed allowing you to
scroll
to view the remaining
columns.
Note: The
name column will remain fixed
to
the left of the table while
the
remaining columns are
scrollable.
Managing items in table
view
To edit a task while in table
view,
hover over the task and click the
edit
pencil to the right of the task
name.
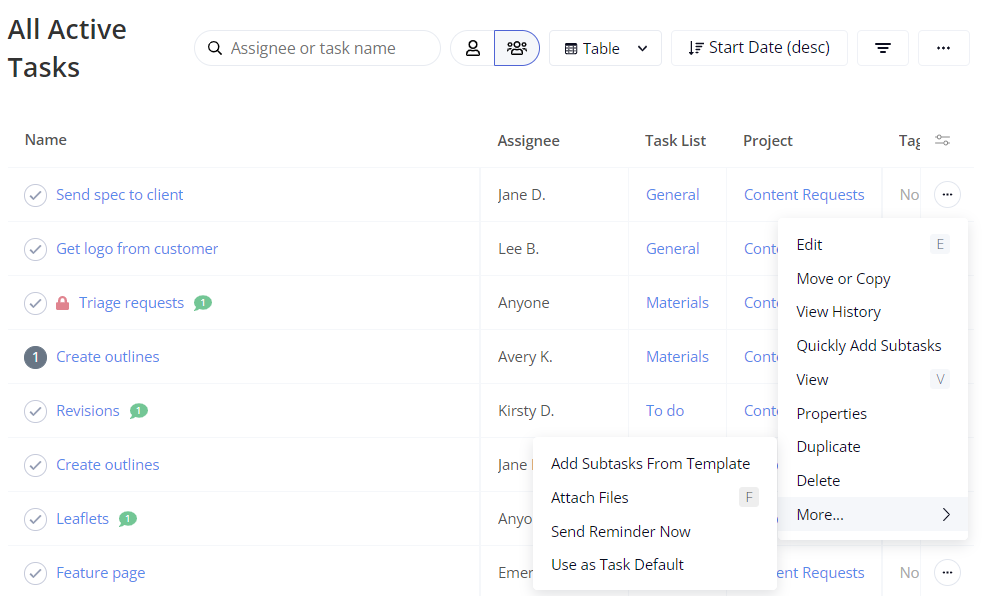
To access the task options menu
for a
task, click the three dots on the
right-hand side of the task
row.
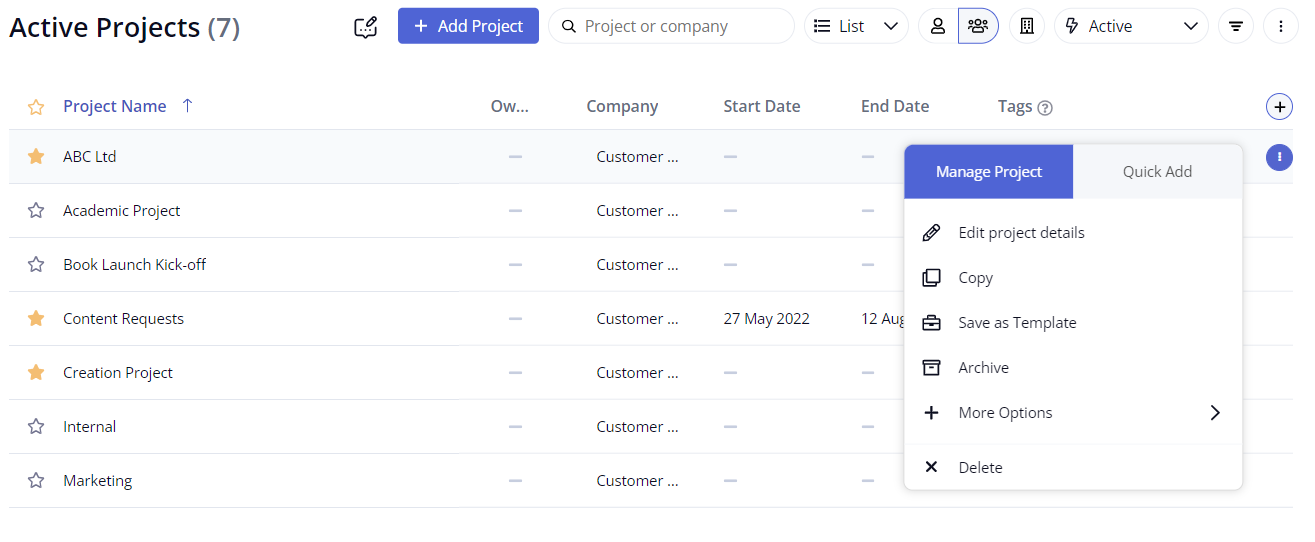
When viewing one of the
supported projects areas, you can
access the project
options
menu by
clicking the three dots at the end
of
the relevant project row.
For more
information,
see: Teamwork.com
Beta
Program