
Within Teamwork Chat, you can set up
incoming hooks to send messages
from external sources into a channel.
Incoming hooks have two parts:
- Web hook - a URL that a HTTP request can
be made to that will send a message in a
channel that the incoming hook is
associated with.
- Email hook - an address that an email can
be sent to that will send a message in a
channel that the incoming hook is
associated with.
Every incoming hook will have a web
hook URL and email address associated with
it.
Note: Multiple incoming hooks can
be
associated with a single channel in Teamwork
Chat. However, each incoming hook
can only be associated with one channel.
Use cases
The main purpose for using an
incoming hook is to get some
information from another system into Teamwork
Chat.
For example, you could set up an
incoming hook for notification purposes to
report adverse weather conditions into a
channel when they occur in your local
area.
How incoming hooks work
When an incoming hook is initially created, the details associated with it (name, description, avatar) will be used as the author details for any messages sent via the incoming hook.
If the version of the Teamwork Chat client being used does not support incoming hooks, the Teamwork Chat user setting up the incoming hook will be shown as the sender of any messages posted by the hook.
Messages sent via an incoming hook
will include a Bot tag next to the
message
author's name in Teamwork Chat to
differentiate them from standard messages the
user has written themselves.
Incoming hooks can
only be created by administrators in Teamwork
Chat. Admins can view, create, edit and delete
any incoming hook, even ones created by
another administrator.
If the channel associated with an
incoming hook is deleted, the incoming hook
will automatically be deleted.
Creating a new incoming
hook
In your Teamwork Chat account, click
your profile avatar in the top right and
select Incoming Hooks from
the dropdown menu.

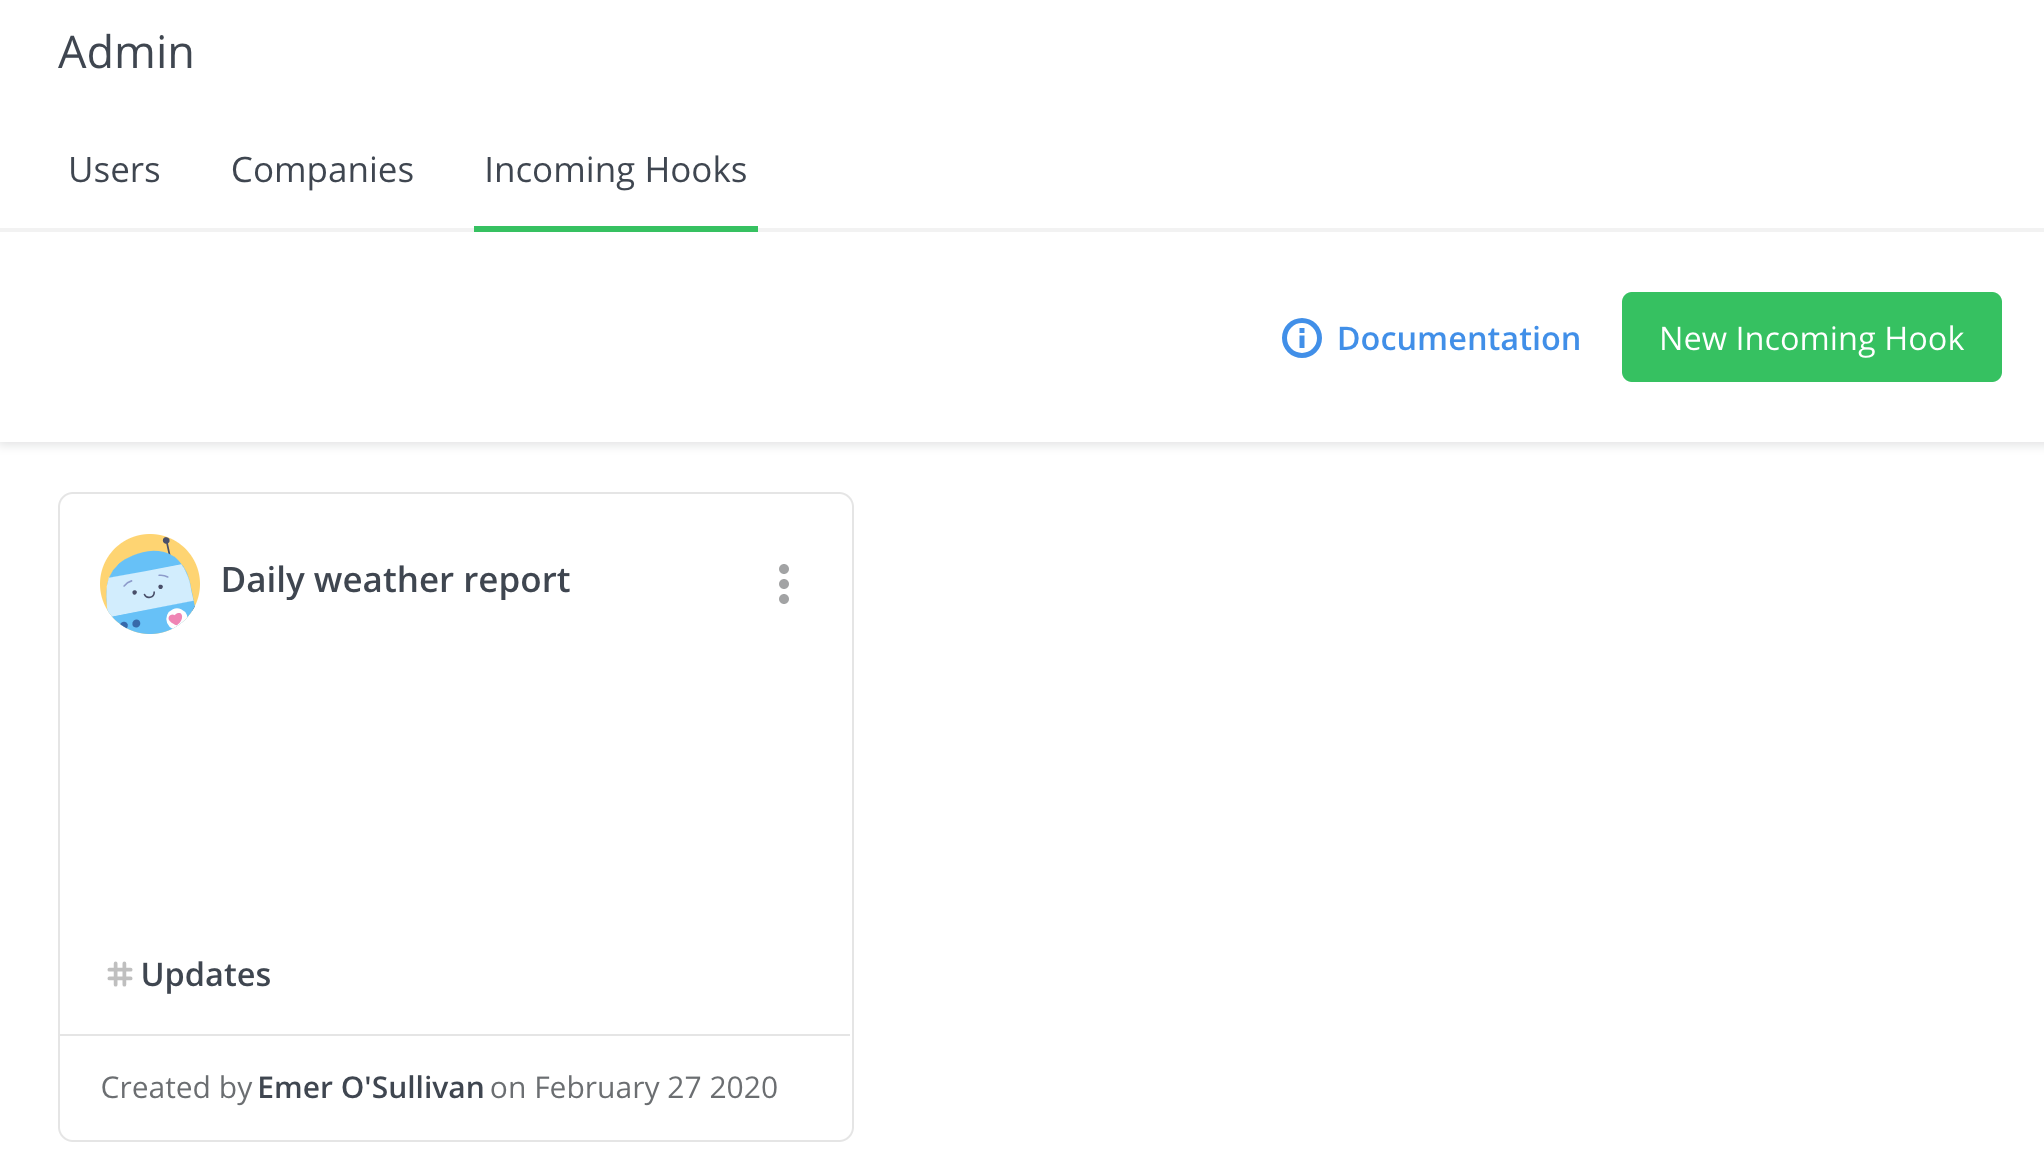
You will be directed to a page that
displays any of the incoming hooks that have
been created for your Teamwork Chat
installation.
Click the New Incoming
Hook button in the top right and
fill out the form details. If you do not have
any existing hooks created, you can also click
the Add Incoming Hook option
in the middle of the screen.

Viewing existing incoming
hooks
In the Incoming Hooks area, a
card for each individual
incoming hook will be
displayed
showing details of the
hook:
- Name, avatar, description,
associated channel,
creator,
creation date.
If an incoming hook was
created in a private channel
that you
are not a member of, you will
not be
able to see the name of the
channel
that incoming hook is
associated
with.
- You can still edit and
delete
these incoming
hooks.
Editing an
existing
incoming
hook
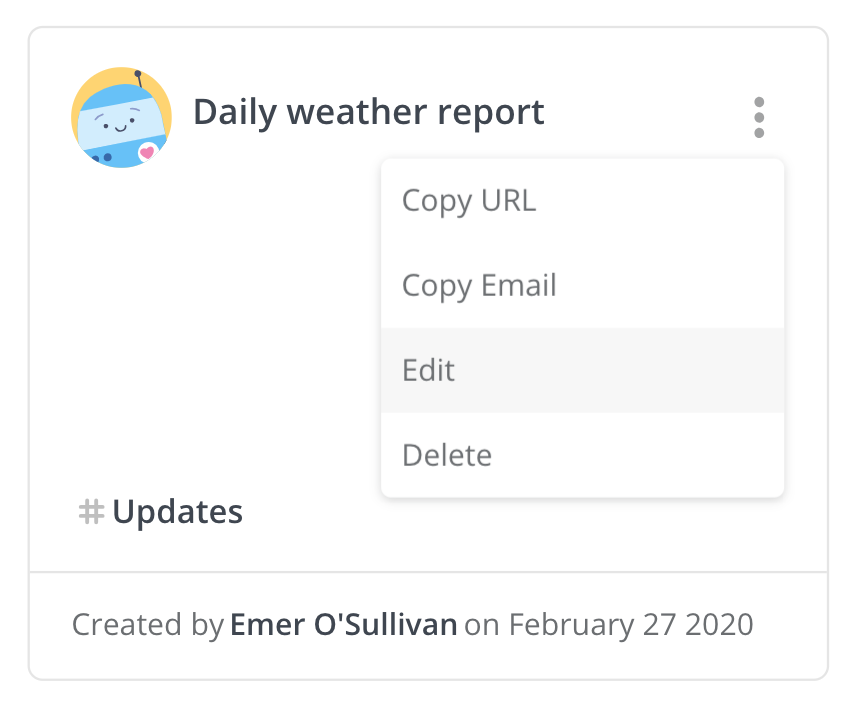
When viewing your existing hooks,
go to the relevant hook card and
click the options button in the
top right. You can then select Edit from the dropdown
menu.
The edit option will open a modal
where you can edit the incoming
hook's properties.

You cannot change the channel
associated with an incoming hook
once it has been created. This is
to prevent the channel associated
with the incoming hook
accidentally being changed later
by another Teamwork Chat
administrator.
The web hook URL and email hook
email address associated with an
incoming hook are unique and
cannot be edited. These values are
fixed and are assigned at the
creation date of the incoming
hook.
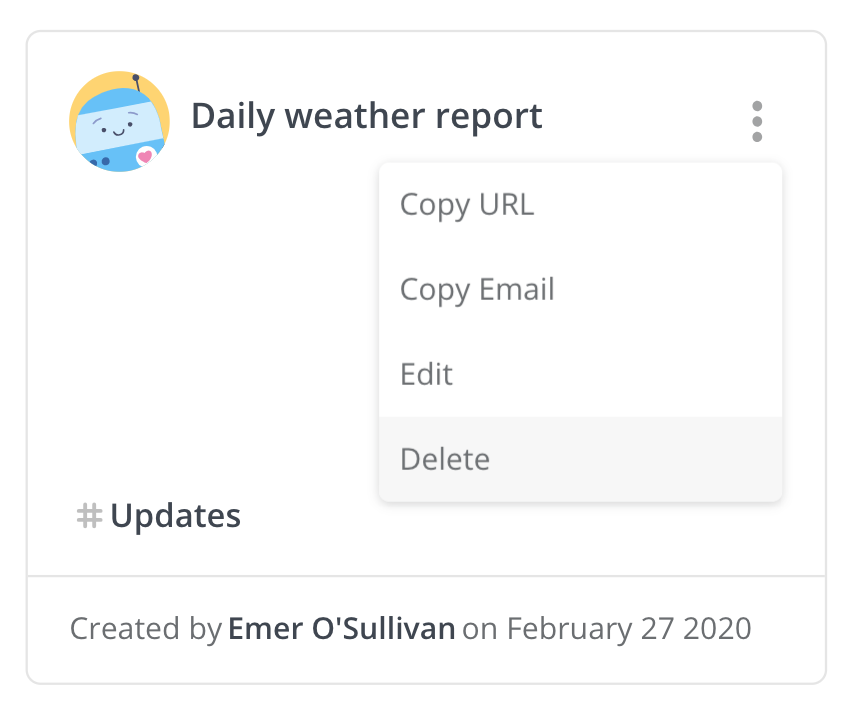
Deleting an incoming
hook
When viewing your existing hooks, go
to the relevant hook card and click the
options button in the top right. You can then
select Delete from the dropdown
menu.
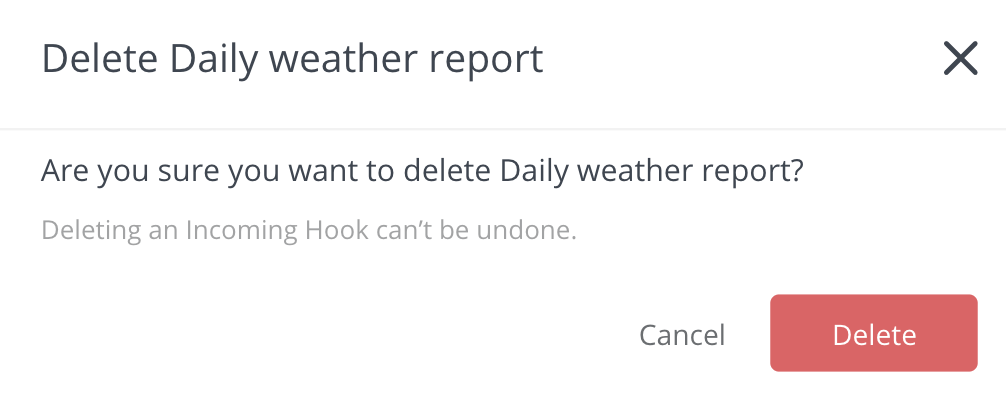
Selecting the delete option will
open a modal asking you to confirm deletion of
the incoming hook.
Any Teamwork Chat administrator can
delete incoming hooks created by any
administrator.
After an incoming hook is deleted,
messages will still be visible in the channels
they were sent in.
- The author of the messages will still
display the same name as the incoming
hook.
- The avatar will be reset to the default
avatar, similar to when a normal user is
removed from Teamwork Chat.
If a user that created an incoming
hook is deleted from your Teamwork Chat site,
the incoming hook will still be active and
will need to be deleted by another Teamwork
Chat administrator.
Copying web hook URLs and email
hook email addresses
The web hook URL and email hook
email address properties of an incoming hook
can be copied from various areas of
the Incoming Hooks area.
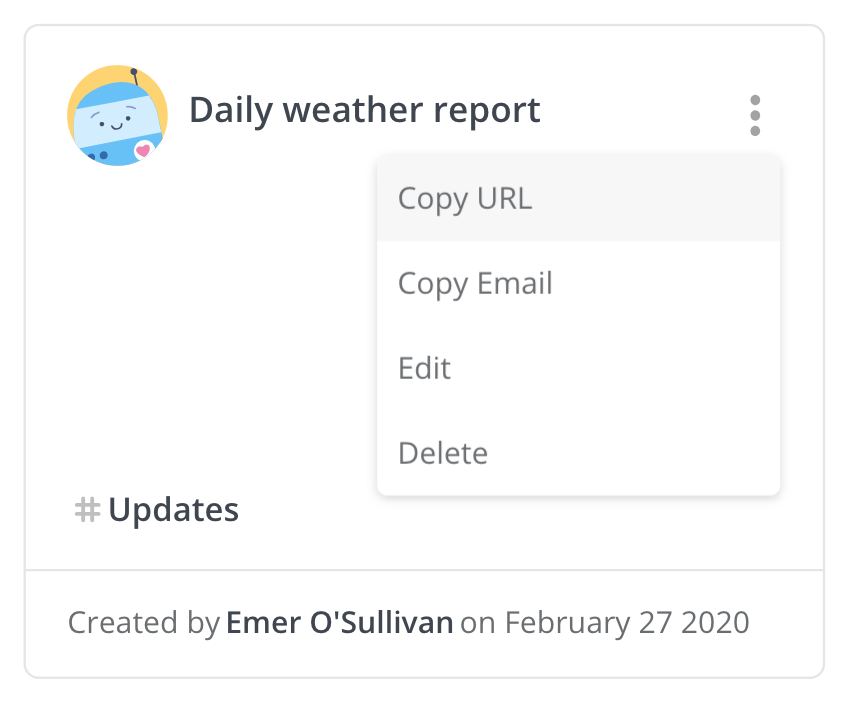
Click the three dots in the top
right of an incoming hook card.
You will have options
to Copy
URL and Copy
Email in the dropdown
menu. Clicking these options will
copy the corresponding URL or
email address to the
clipboard.
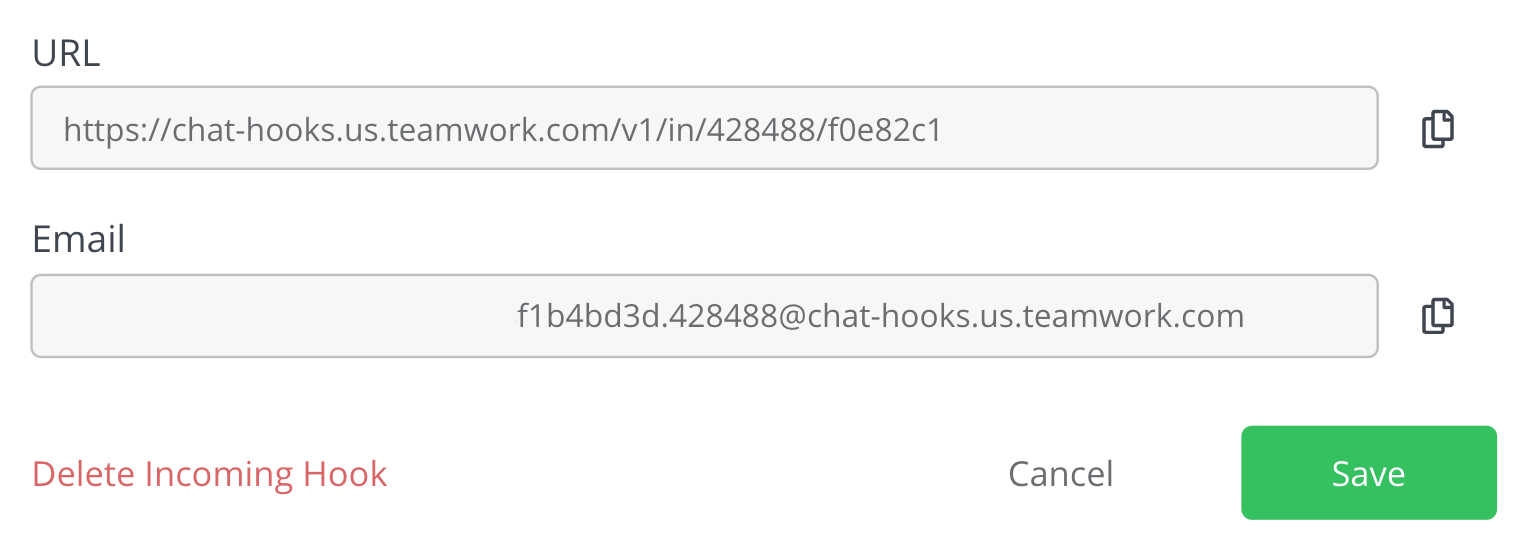
When you edit an incoming hook,
the web hook URL and email hook
email address will be shown in the
form. You can copy either to the
clipboard by clicking the button
at the end of each field.
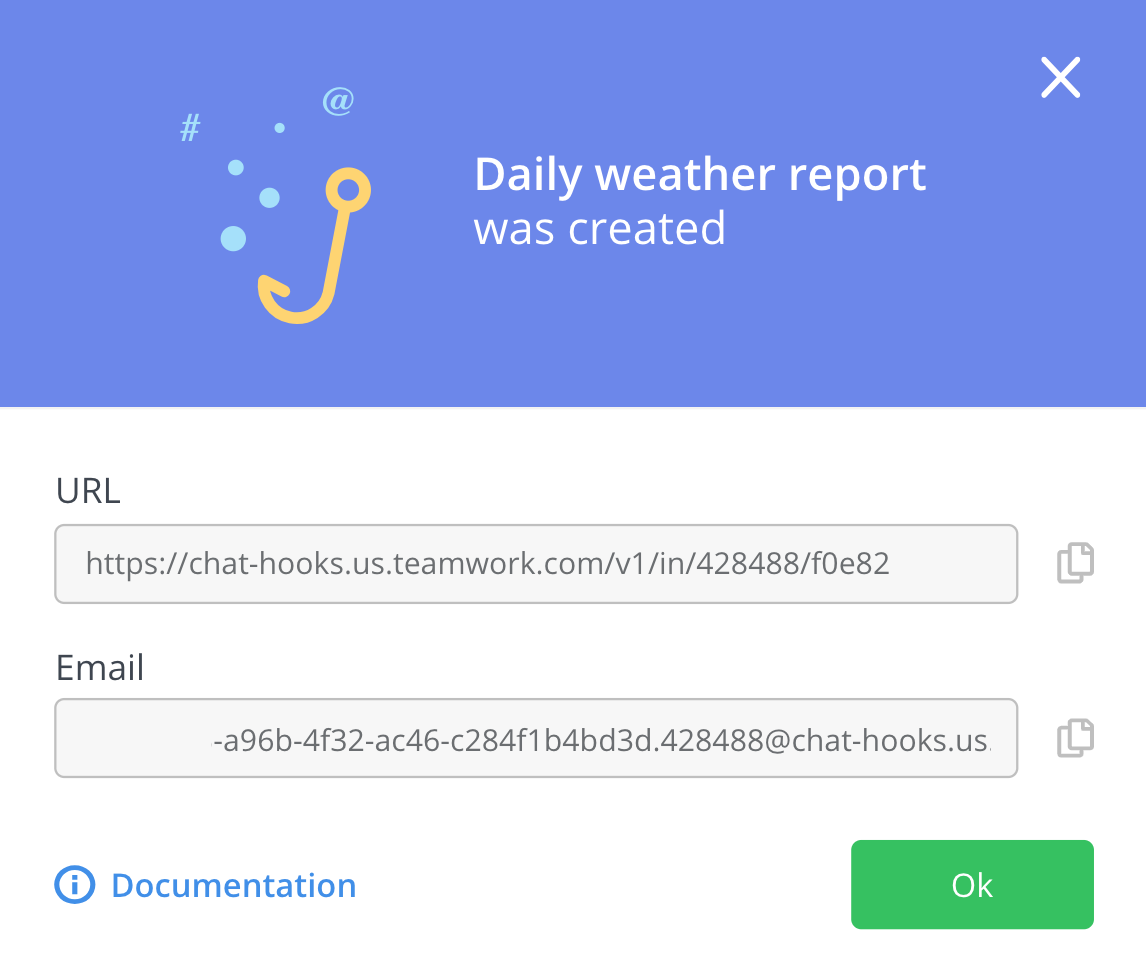
When you create a new incoming
hook and are viewing the
confirmation modal, it will
contain the web hook URL and email
hook email address. You can copy
these to the clipboard by clicking
the button at the end of each
field.
Using incoming hooks to post
messages
The Teamwork Chat API documentation contains further details about:
- Making HTTP Post requests to the web hook URL associated with the incoming hook.
- Sending an email to the email address associated with the incoming hook.
- The body of the email will be used for the message content in Teamwork Chat.
- The email subject and any attachments will be ignored.
When you post a message to either
the URL or the email address, it will be
outputted to the associated channel in
Teamwork Chat.

For more information,
see: Teamwork Chat API Documentation