
✔ Available
on
all subscriptions
| What | Custom identifiers
you can use to
group projects and project
items. Categories
can
be applied to:
projects,
files,
messages, links, and
notebooks. |
| Why |
|
| Who |
|
| When | You want to create overall
project structure or increase
organization of key project
items.
|
| What | Custom identifiers
you can use to
group projects and project
items. Categories
can
be applied to:
projects,
files,
messages, links, and
notebooks. |
| Why |
|
| Who |
|
| When | You want to create overall
project structure or increase
organization of key project
items.
|
Before you
start
- Category
structure can be up to three levels deep.
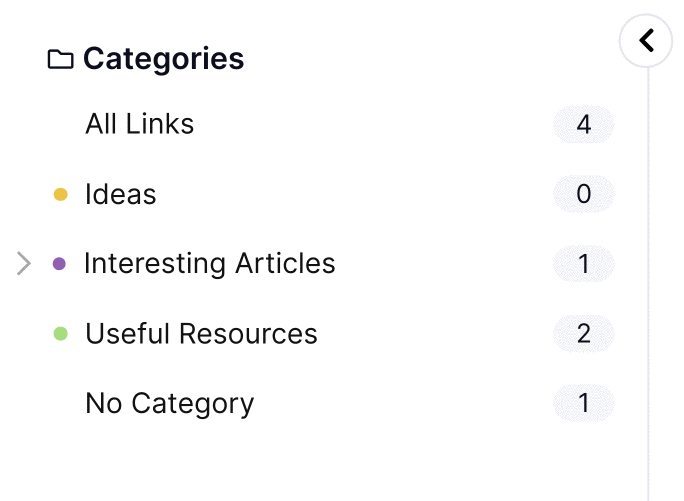
- Any
items not assigned a category are
visible in the No
Category section.
- A project (or project item) can
only exist in one category
or
subcategory at any one
time.
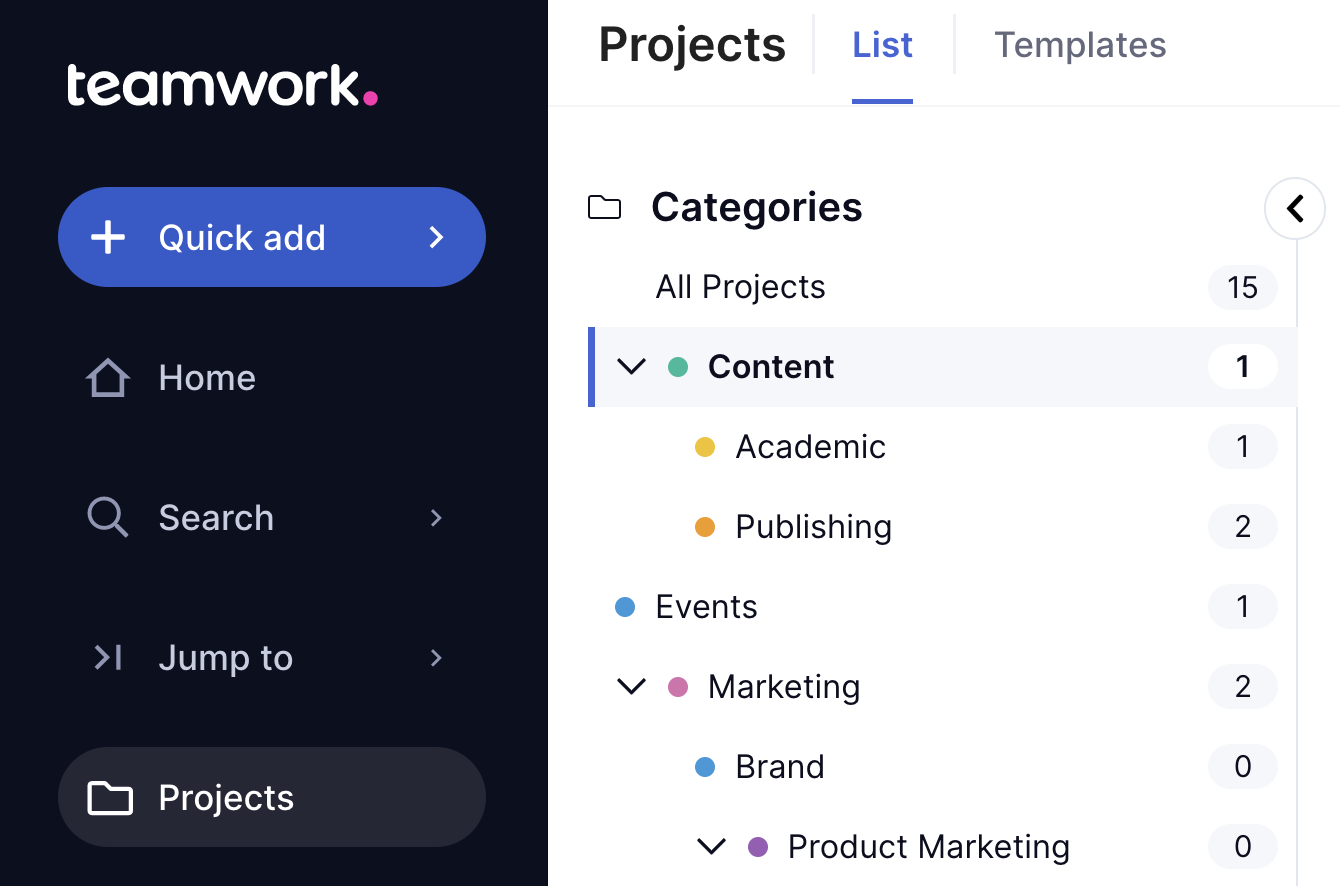
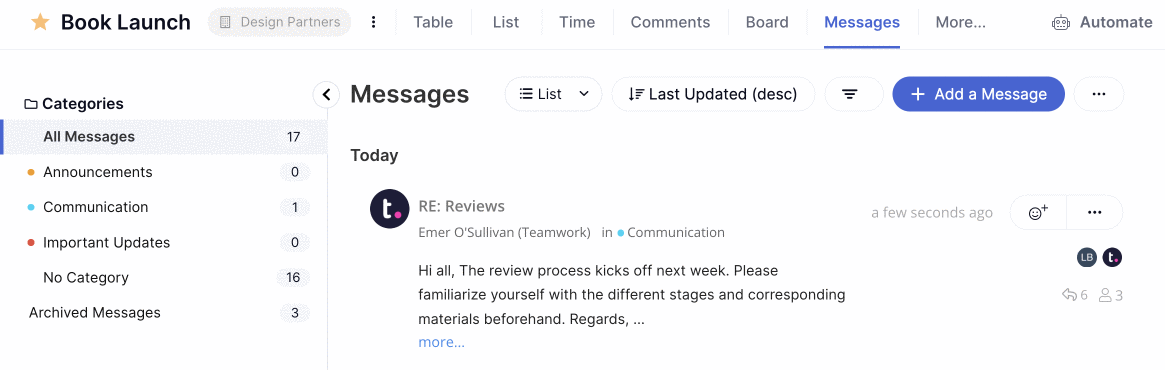
Navigate the
category panel
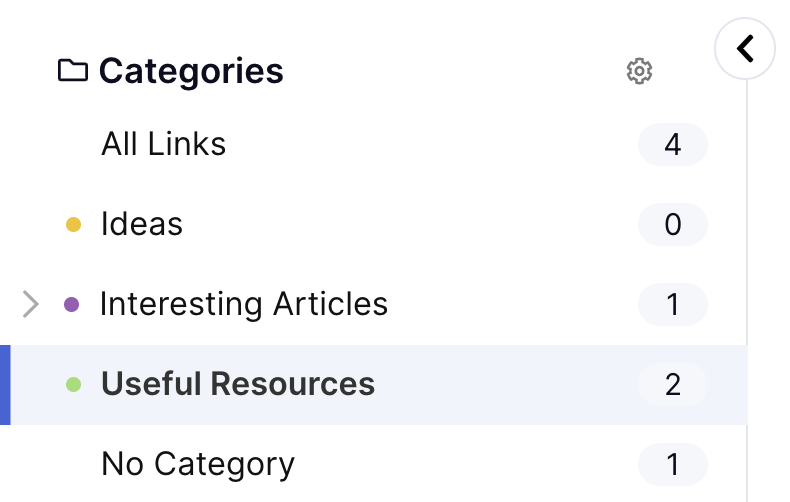
What they are: Category
panels show corresponding project or
project item categories. You'll see a
panel in the projects List view and on
any applicable project item view
(within a project).
Work with the
panel: Click a category
to see the items in that
category. They'll show up in
the main view, not in the category
panel. If the category has
subcategories, those will appear
in the category panel.
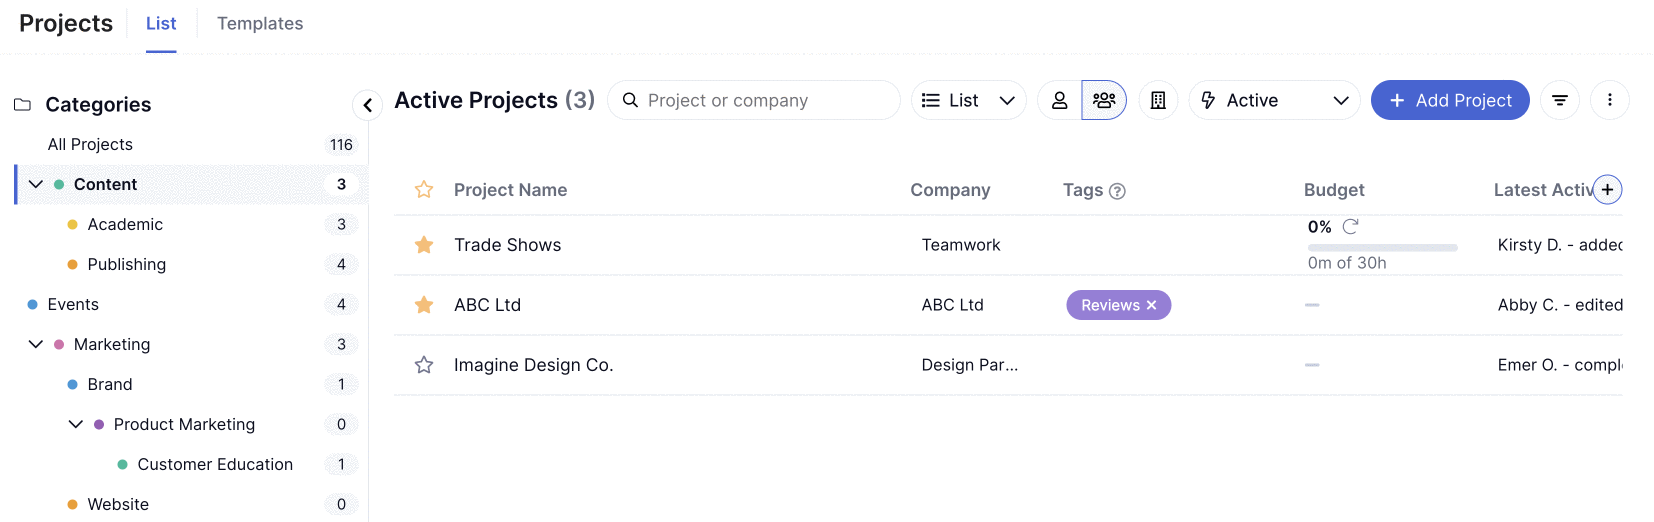
Numbers: The
numbers next to each category (or
subcategory) show how many items are
assigned to the category (or
subcategory).
📝 Filters
affect
these numbers, so if you're
looking at active projects, the
project categories will filter to
show how many active projects are
in each category.
Create a
category
- Navigate to the appropriate category
panel:
- Project category:
- Click Projects from Teamwork.com's main navigation menu.
- Select the List tab.
- Project item category:
- Click Jump to and search for and select a project.
- Select the relevant project tab (Messages, Files, Notebooks, or Links) from the project's navigation menu.
- Hover over the Categories panel on the left.
- Click the settings cog in the panel's top right.
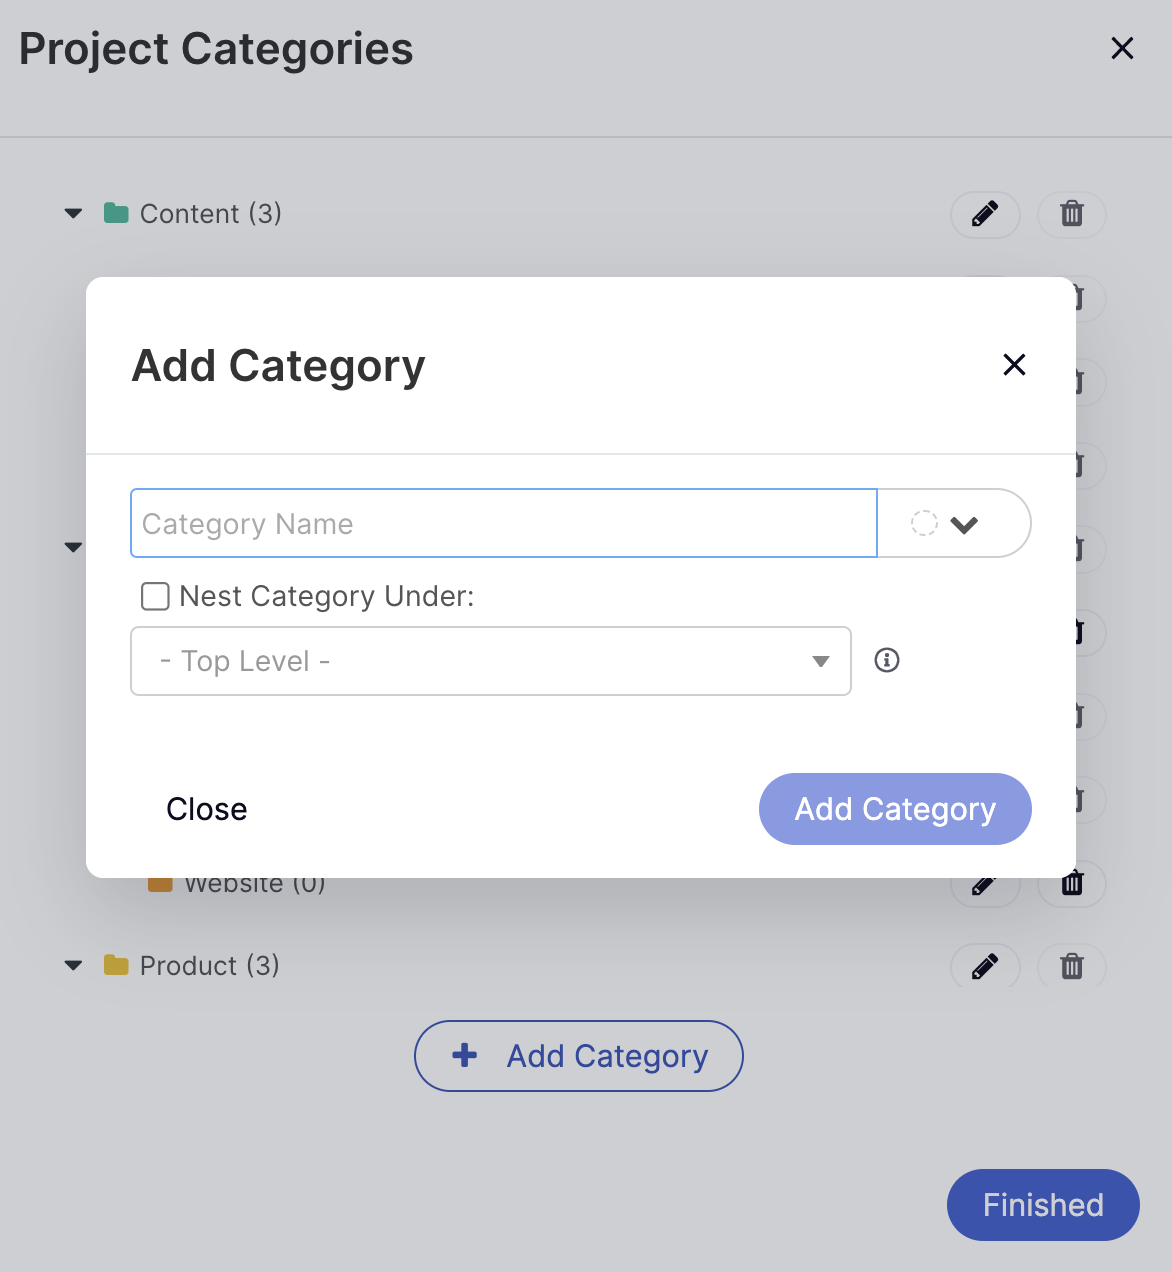
- Click + Add Category.
- Fill out the category's details:
- Name: Enter the category's name. This is all that's required!
- Color: Click the dropdown on the name field's right to assign a category color. This is optional but helps differentiate between categories.
- Nest Category Under: Check this box if this category should be a subcategory. Use the dropdown field to choose the top-level category. This option is only shown if other categories already exist.
- Click Add Category.
- Next:
- Stop there: Click Finished.
- Keep going: Create more categories:
- Repeat steps 4 to 6 for each new category you want to create, then click Finished.
💡 Think
about (and decide) how
categories should be used before
creating them. Then, only create
the categories you need. Trust us,
it'll keep things from getting out
of hand.
View and manage
categories
- Navigate to the appropriate categories panel:
- Project categories: Click Projects, then select the List tab.
- Project item categories: Click Jump to, then search for and select a project. While viewing the project, select the relevant tab (Messages, Files, Notebooks, or Links).
- Hover over the Categories panel on the left.💡 Each category's color is displayed on the category name's left.
- Click the settings cog in the panel's top right.
- Next:
- Edit: Click the edit pencil on a category's right to update the category's name and associated color or to make it a top-level or subcategory.
- Delete: Click the trash can on a category's right to delete it. Careful, deleting a parent category also deletes its subcategories.⚠️ Categories (and their subcategories) must be empty to be deleted (i.e. nothing can be assigned to that category and subcategories). TL;DR: Empty any categories you want to delete.
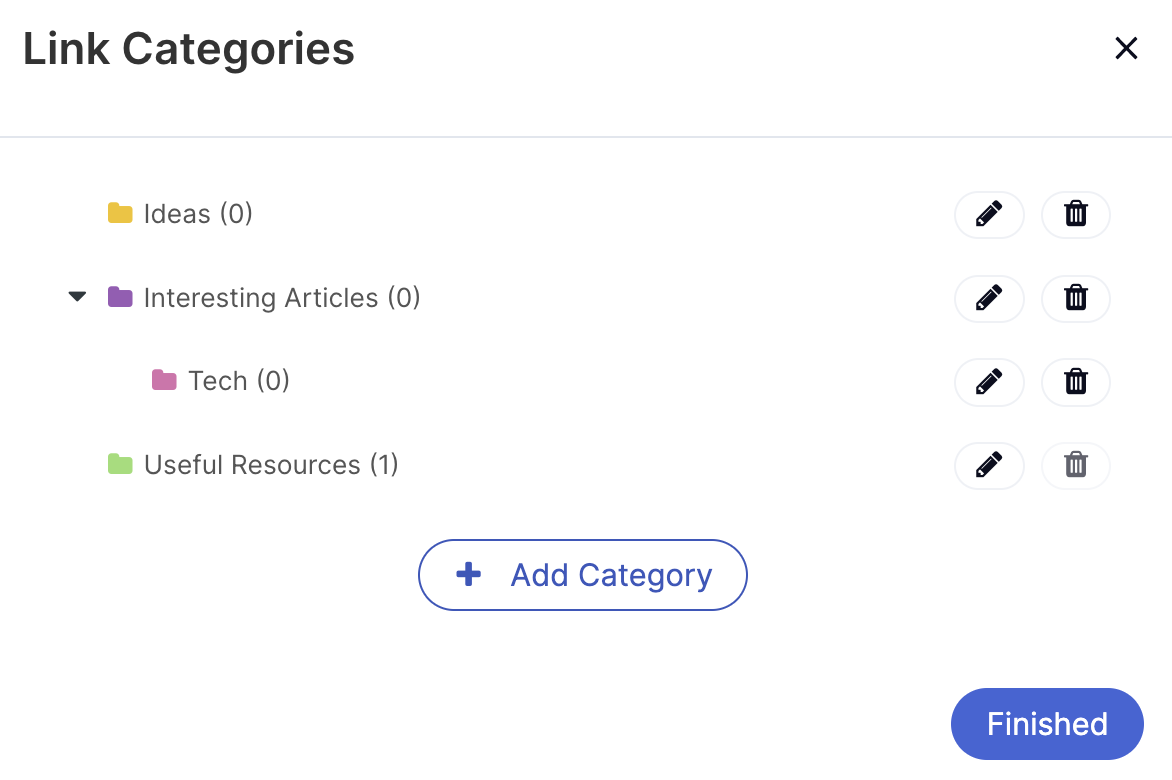
- Click Finished.
Your changes are
immediately
applied.
Add a project
to a
category
- Click Projects in
Teamwork's main navigation menu.
- Go to the List tab.
- Hover over a project to reveal a set of dots on the project name's right.
- Click and hold the dots icon, then drag the project to the Categories panel and drop it on the relevant category.📝 You can use drag and drop to assign a category to projects currently in No Category, or to move a project from its current category to another.
Another
option...
Project admins (and site admins) can
also manage a project's assigned
category from the project's Settings:
- Click Jump to in Teamwork.com's main
navigation menu.
- Search for and select a project.
- Switch to the Settings tab. Settings might be hidden
under the More...
option.
- Select
the General subsection.
- Scroll to
the Category field
under General
Settings.
- Click the current category. If
unassigned, it'll say "No
Category."
- Select a category from the
dropdown.
- Click Save.
Add project
items to a category
- Click Jump to in Teamwork's main navigation menu.
- Search for and select a project.
- Go to the relevant project section (Messages, Files, Notebooks, or Links).
- Hover over an individual item to reveal a set of dots to the item name's left.
- Click and hold the dots icon, then drag the item to the Categories panel and drop it on the relevant category.📝 You can use drag and drop to assign a category to an item currently in No Category, or to move an item from its current category to another.
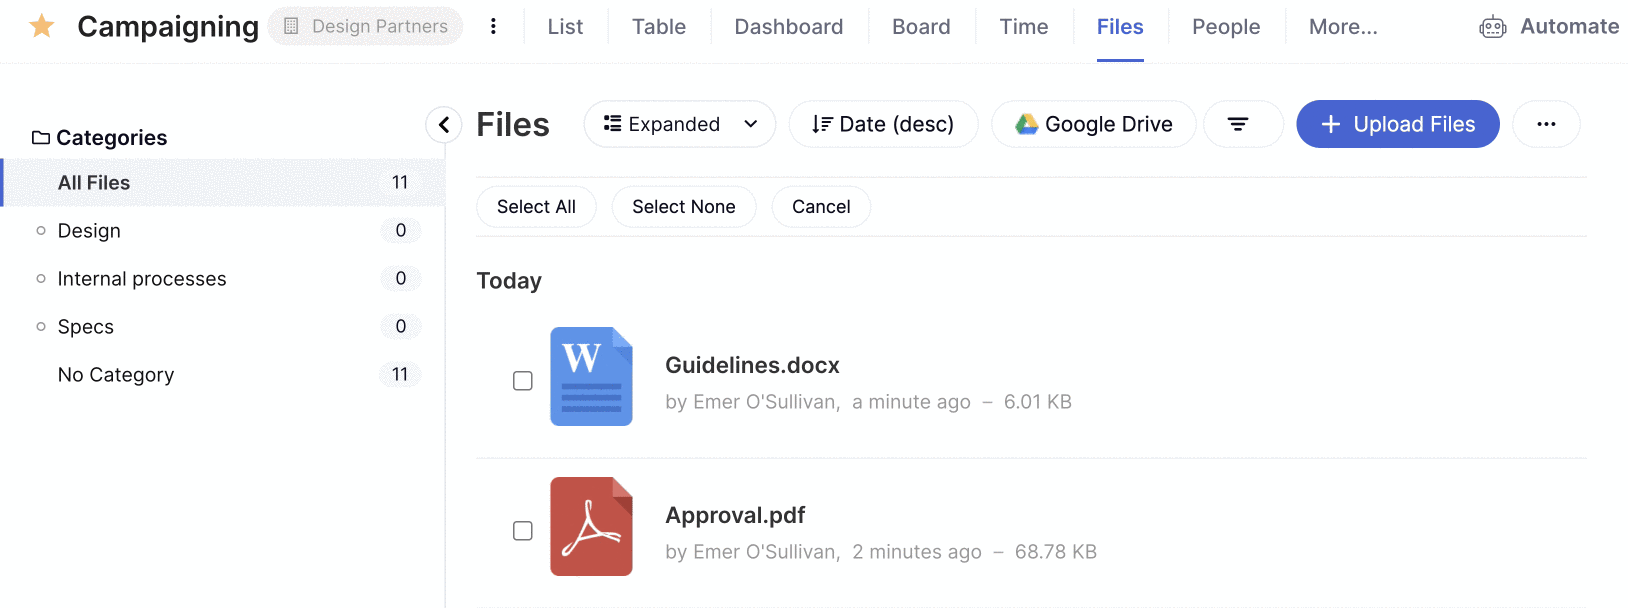
Bulk move
files to a category
Bulk move a project's files
between categories.
- Go to a project's Files section.
- Click the ellipsis (...) in the view's top right.
- Choose Select Multiple Files from the dropdown.
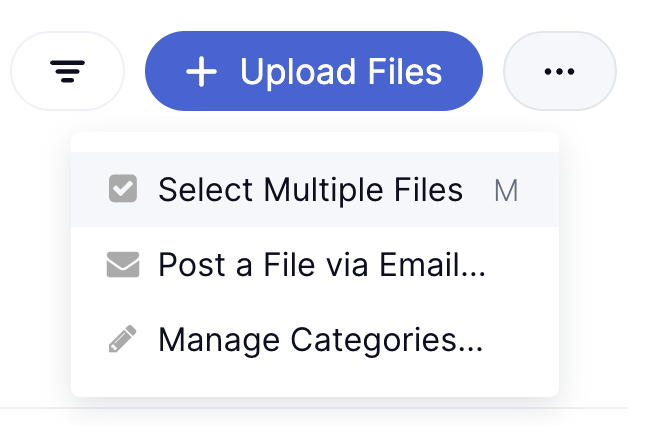
- Select the checkbox to the left of
each file you want to move.
- Hover over the files to reveal a set
of dots to each file's left.
- Click and hold
the set of dots beside
one of the
files.
- Drag the files
to the Categories panel
and drop them on the
relevant
category.
Set default
categories for project items
Create default project item
categories that will be
automatically created on each new
project.
📝 Default
categories can be set for
messages,
files, links, and notebooks.
- Click your profile icon in
Teamwork's main navigation
menu.
- Select Settings from the pop-out menu.
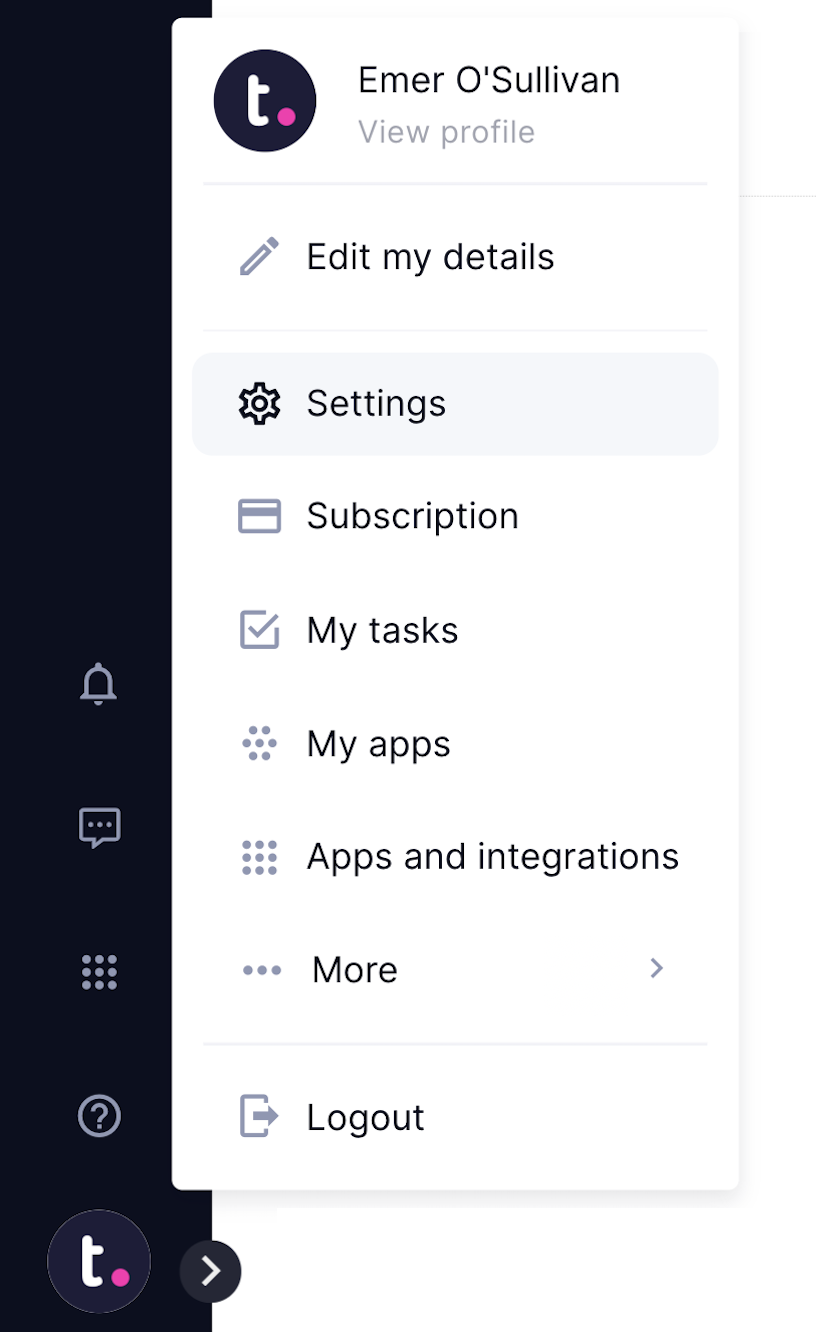
- Click
the Templates tab.
- Scroll to the relevant Default categories subsection.
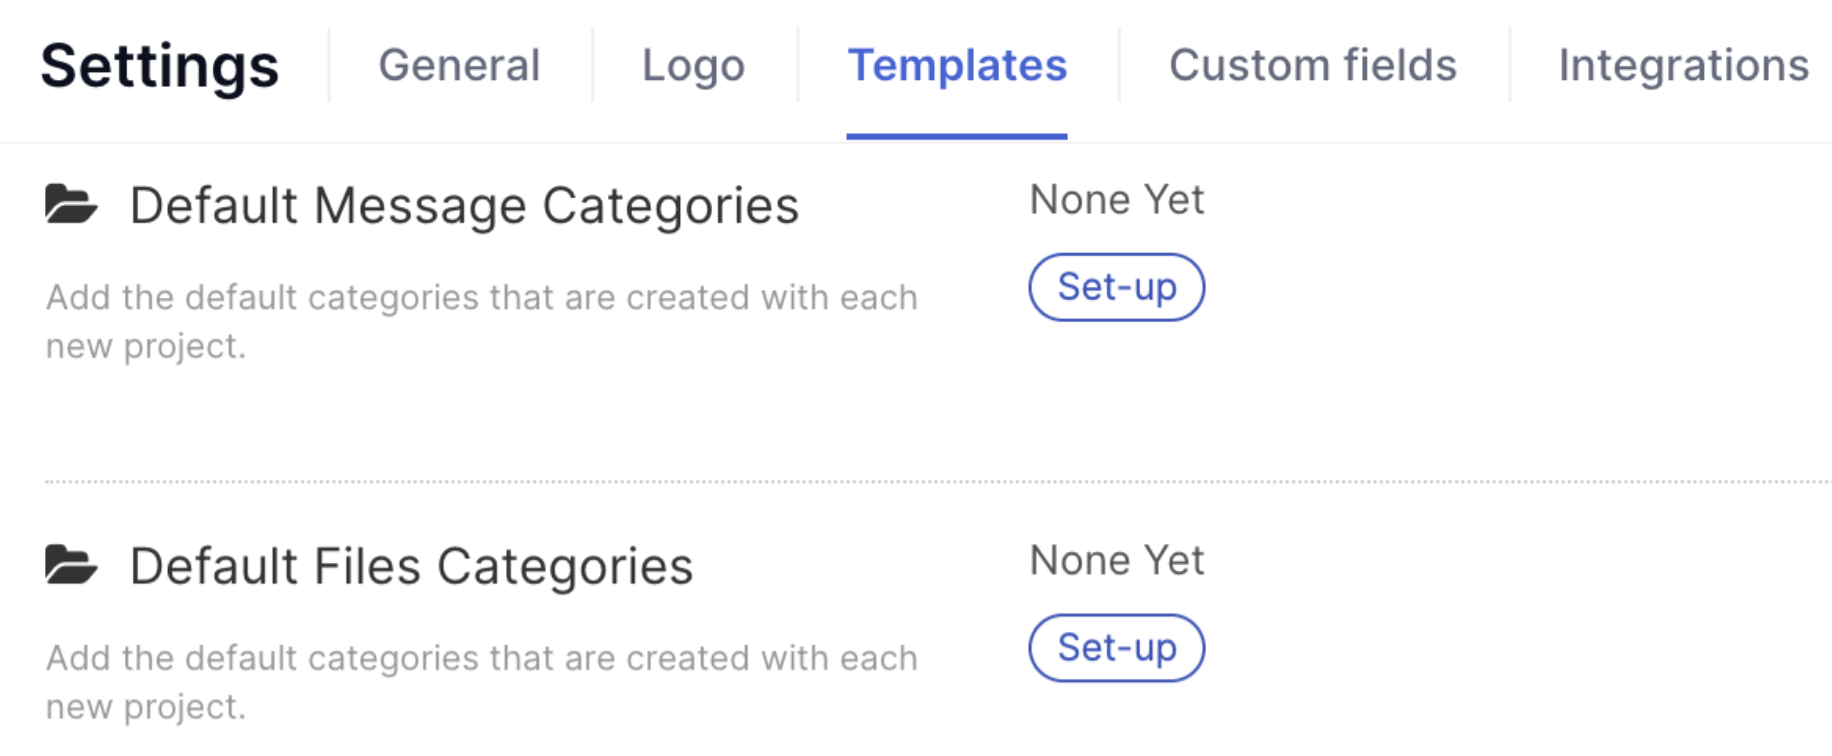
- Click Set-up. If an item type has existing default categories, click Edit to manage them instead.
- Click + Add Category in the default categories window.
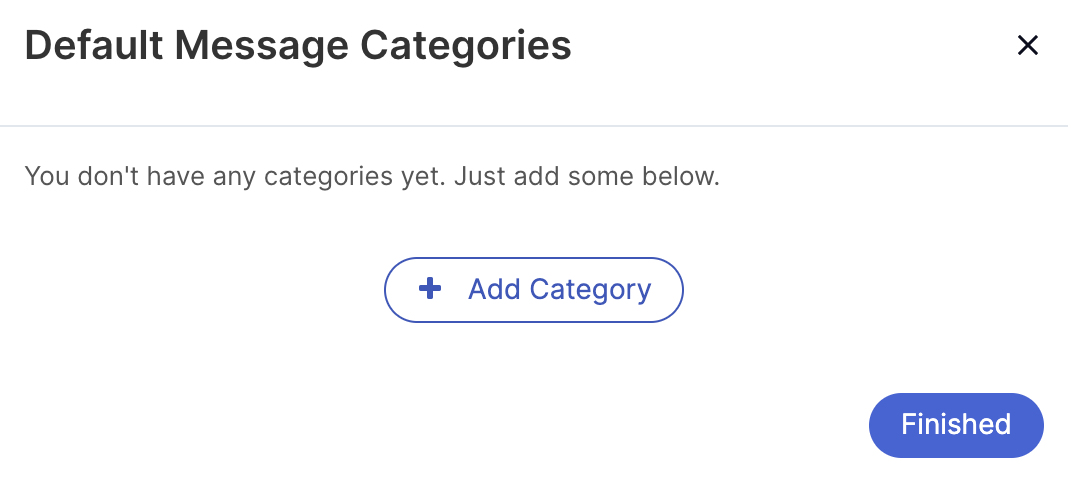
- Enter the category name and select
a color, then click Add
Category.
- Repeat steps 6 and 7 for each
default category you want to
create.
- Click Finished to save
your changes.
The default categories
are
set up. The next time a project is
created, those categories are
automatically populated under the
associated item section (ex.
files).
Best
practices
- Keep it relevant: Consider how
categories can best add structure to
your workflow and only create the
categories you need.
- Auto-populate: Use default
categories to automatically provide
organization to projects from the
outset without having to manually set
them up.