
✔️ Available on
all subscriptions.
| What | Import task
lists and tasks to your projects
from Microsoft Excel. |
| Why |
|
| Who |
|
| When |
|
| What | Import task
lists and tasks to your projects
from Microsoft Excel. |
| Why |
|
| Who |
|
| When |
|
Before
you
start
- For the Excel import to work, your file
must follow the format of the sample
file form. So, before you start an import,
make sure the Excel file you're using
matches the layout (column headings) and
data formats in the sample import
files.
- Repeating tasks cannot be imported
when using an Excel file.
Step 1: Prepare your
data for import
Download a sample
spreadsheet, then use it to:
- Build out
your required import
data.
- Cross-check an existing spreadsheet you want to import. If your import file is already prepared and follows the format requirements, jump to 'Step 2: Import tasks'.💡 Using Google Sheets? Download a copy and save it locally in .xls or .xlsx format.
- Click Jump to in Teamwork.com's
main navigation menu.
- Search for and select the project you want
to import tasks to.
- Select either List or Table from the project's navigation
menu.
- Click the vertical ellipsis (
 )
in the view's
top right.
)
in the view's
top right. 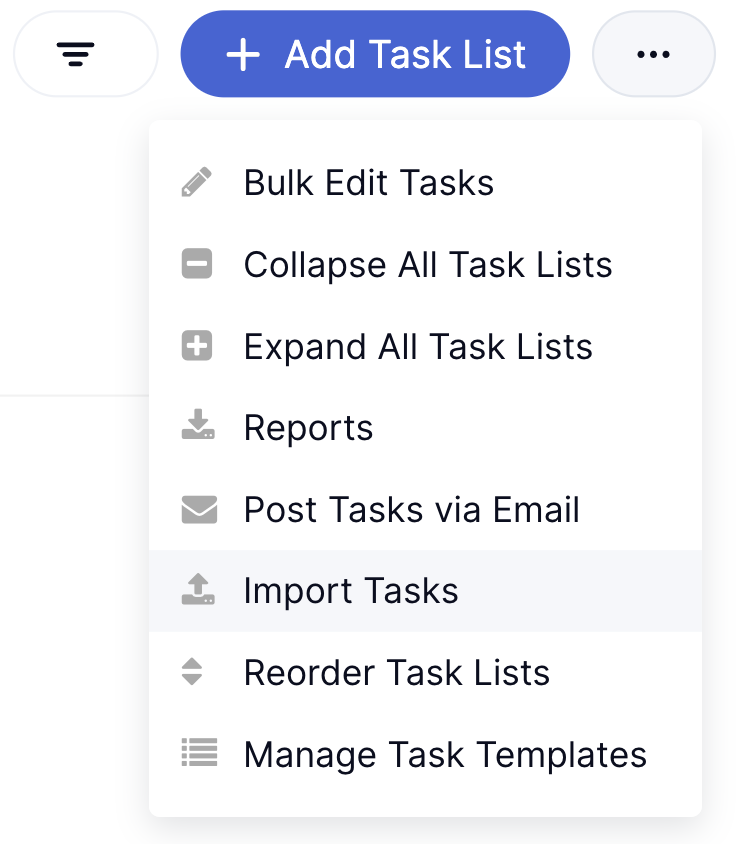
- Select Import Tasks.
- Select a sample file from the dropdown (based on your industry or user type).

- Click Download Sample.
A sample file is downloaded —
you
can:
- Enter your own task lists and tasks to the
sample file, then upload it to the
project.
- Use the sample file as a reference point and update an existing file to match its format before uploading that existing file to the project.
Populate
the sample file
Using the column headings in the
sample file as your guide (leave them as
is), populate separate rows for each task
list and task you want to import.
- When populating a task, leave the task
list field blank.
- Each task should be populated directly
below the task list you want the task
to be created in. Ex. Create a task
list in row 2, then add its tasks to
rows 3 - 5. Create another task list
in row 6, then add its tasks to rows 7
to 10.
Whether you’re populating a
sample file
or have an existing spreadsheet you
want
to import, the file must follow the
exact
column headings and the individual
property formats in order for the
import
to run successfully.
| Column
heading | Purpose
and required
format |
|---|---|
| Tasklist | Enter a task list name. |
| Task | Enter a task name. Subtasks can be
created directly below the
parent task row. Enter any
of the following supported
characters before the
subtask’s name:
Sub-subtasks can
be created by multiplying
the characters (ex.
--, ##,
or
>>) before
the task name. |
| Description | Enter a task
description. |
| Assign to | Enter the assignee's
email address. To
assign a task to multiple
people, use a comma
(,) to separate the
email
addresses. 📝
Email
addresses must match users
already existing on your
site. If a selected user
is not a current project
member, they are added to
the project during the
import. |
| Start date | Enter the task's start
date. The date format
should match the format
preference in
your localization
settings. |
| Due date | Enter the task's due
date. The
date format should
match the format
preference in your localization
settings. |
| Priority | Add a priority for
the task (low, medium,
or high). |
| Estimated time | Add estimated time to the
task. Supported formats
include: 25,
01:30, 1h 15m, 1h, 2
hours. |
| Tags | Enter a tag name to
be associated with the
task. To apply
multiple tags, use a
comma (,) to
separate the tag
names. 📝 If the
tag name entered does
not match an existing
tag on your site, it
will be created as a
new site-level
tag and
applied to your
imported
tasks. |
| Status | Choose whether the task
should be Active or Complete when
imported. |
Step 2: Import
tasks
- Click Jump to in Teamwork.com's
main navigation menu.
- Search for and select the project you
want
to import tasks to.
- Select either List or Table from the project
navigation.
- Click the vertical ellipsis (
 )
in the view's
top right.
)
in the view's
top right. - Select Import Tasks.
- Click Choose file.

- Browse and select your import file.📝 Microsoft Excel and Microsoft Project are compatible file types.
- Click Import File.
Providing your import file is
in a
supported
format, the file's task lists and tasks
are
imported
to your chosen project.
Best
practices
- Field mapping: Follow the
sample data requirements and
carefully map the Excel columns to
the corresponding fields. This
ensures task information is
transferred to the right place in
Teamwork.com.
- Data validation: Use
consistent naming conventions to
reduce errors during import and
ensure data is structured
correctly in Teamwork.com.
- Test with a small amount of data: Conduct a trial run with a small amount of data. This allows you to identify any issues before importing a large amount of data.