
Within Teamwork Desk, you can use the time tracking feature to log time on tickets.
Note: You must first enable the time tracking tool in your Teamwork Desk site settings.
When viewing an individual ticket, you will see a Time Tracking subsection in the ticket options sidebar to the right of the ticket thread.
Any time previously logged on the ticket is listed in this section. An agent's ability to view these time entries depends on your site's time tracking settings.
- Allow agents to see all tracked time must be enabled in order for agents to view all time entries on a ticket. When this setting is off, agents can only see their own time entries.

Logging time on a ticket
Depending on the time tracking settings enabled for your site, you can allow time to be tracked manually or automatically.
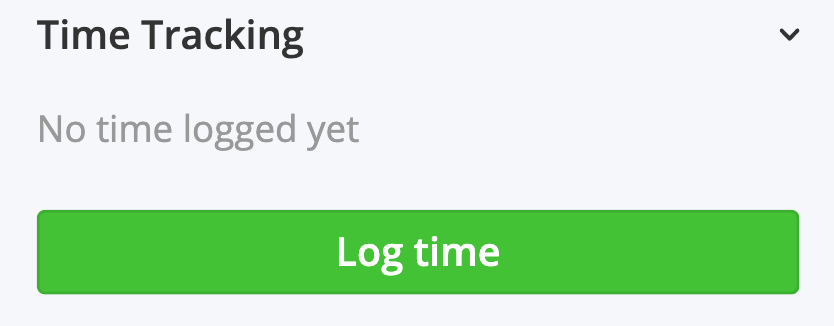
Agents with permission will see a Log time button below any existing time log entries in the Time Tracking section of the ticket sidebar.
When logging time, you can enter the total time from hours down to seconds and also associate the entry with a specific date. The time entry can also be set as billable and a description can be added.
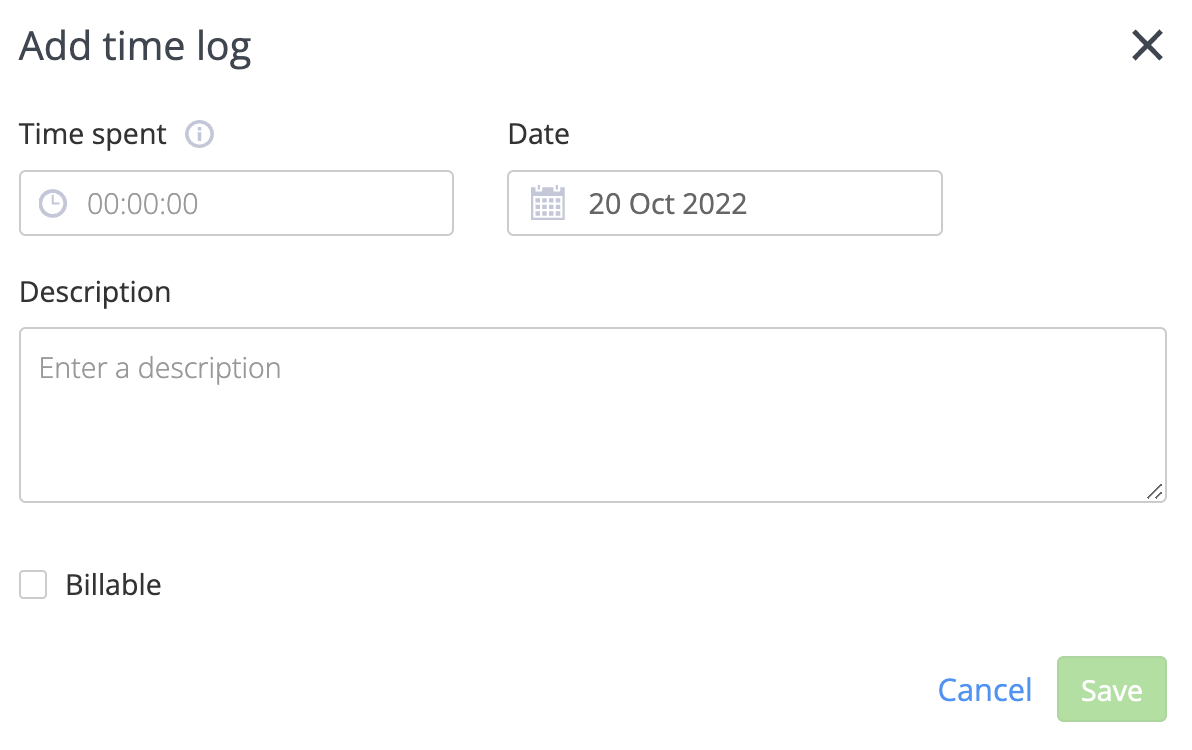
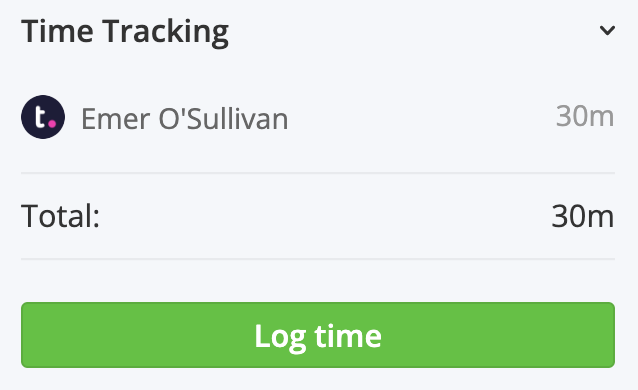
Once you click Save, the time log will be listed in the Time Tracking section of the ticket details pane.
If automatic time tracking is enabled, a timer will start automatically in the the bottom right of a ticket when you open it. Each time you send a new response or add a note on the ticket, a new time log will be created based on the timer tracked time.
When creating a new ticket or a message, the timer will start automatically in the top right corner of the new ticket form.
Logging time to Teamwork.com
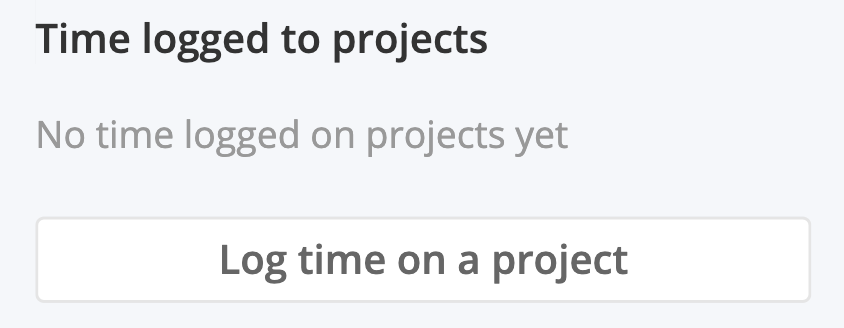
The Time Tracking section also provides the ability to log time directly to a project or task in your associated Teamwork.com account.
Click the Log time on a project button to create an entry.
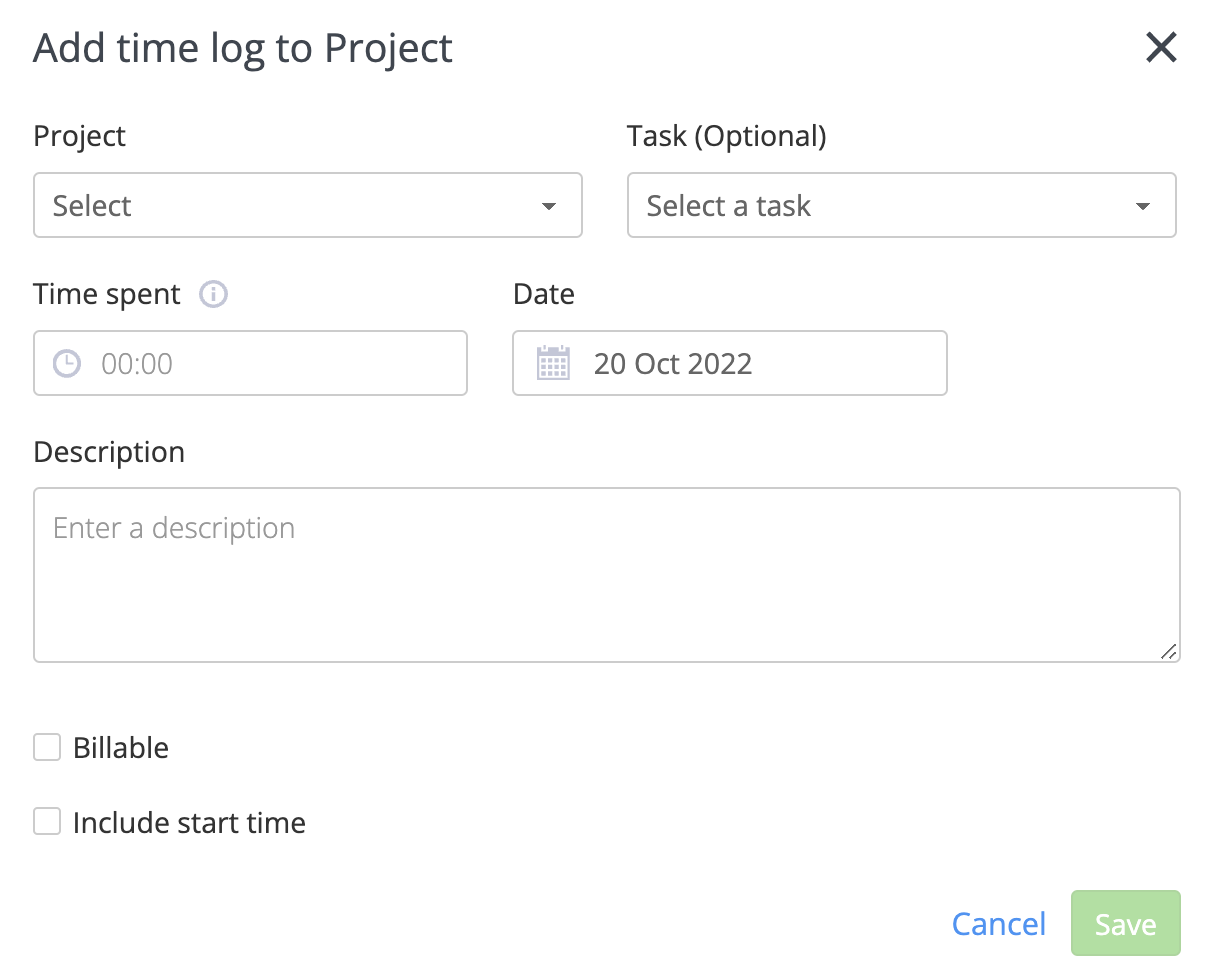
When logging time, you will be able to select the following:
- Project - the project you want to log the time against.
- The project you last logged time against is selected by default.
- Task - log the time to a specific task (optional).
- Date - the time log's date.
- Time - the total time you want to log.
- If you are logging to a project for the first time, the Time field automatically populates to the nearest minute logged on the ticket.
- Billable - mark the time log as billable.
- Include start time - enter a start time (optional).
- Description - add a time log description (optional).
Click Save to submit the time log.
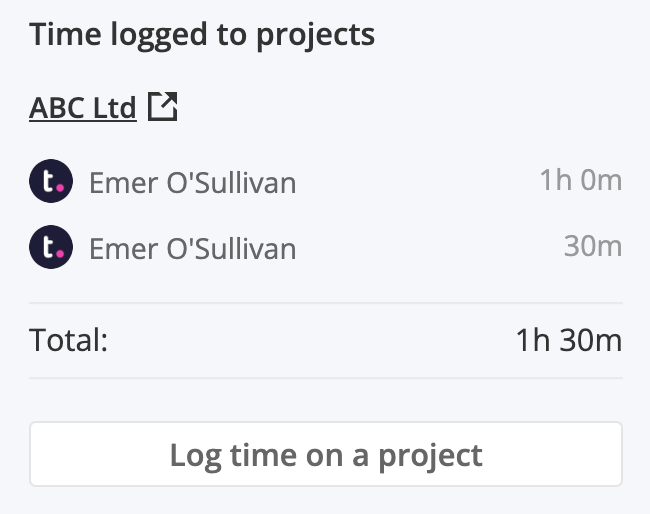
Once logged, the entry will appear under the associated project heading in the Time Tracking section of the ticket details pane. You can click a project name to navigate to that project in a new browser tab.
The time log(s) created on your ticket can be viewed in the Time area of the project.
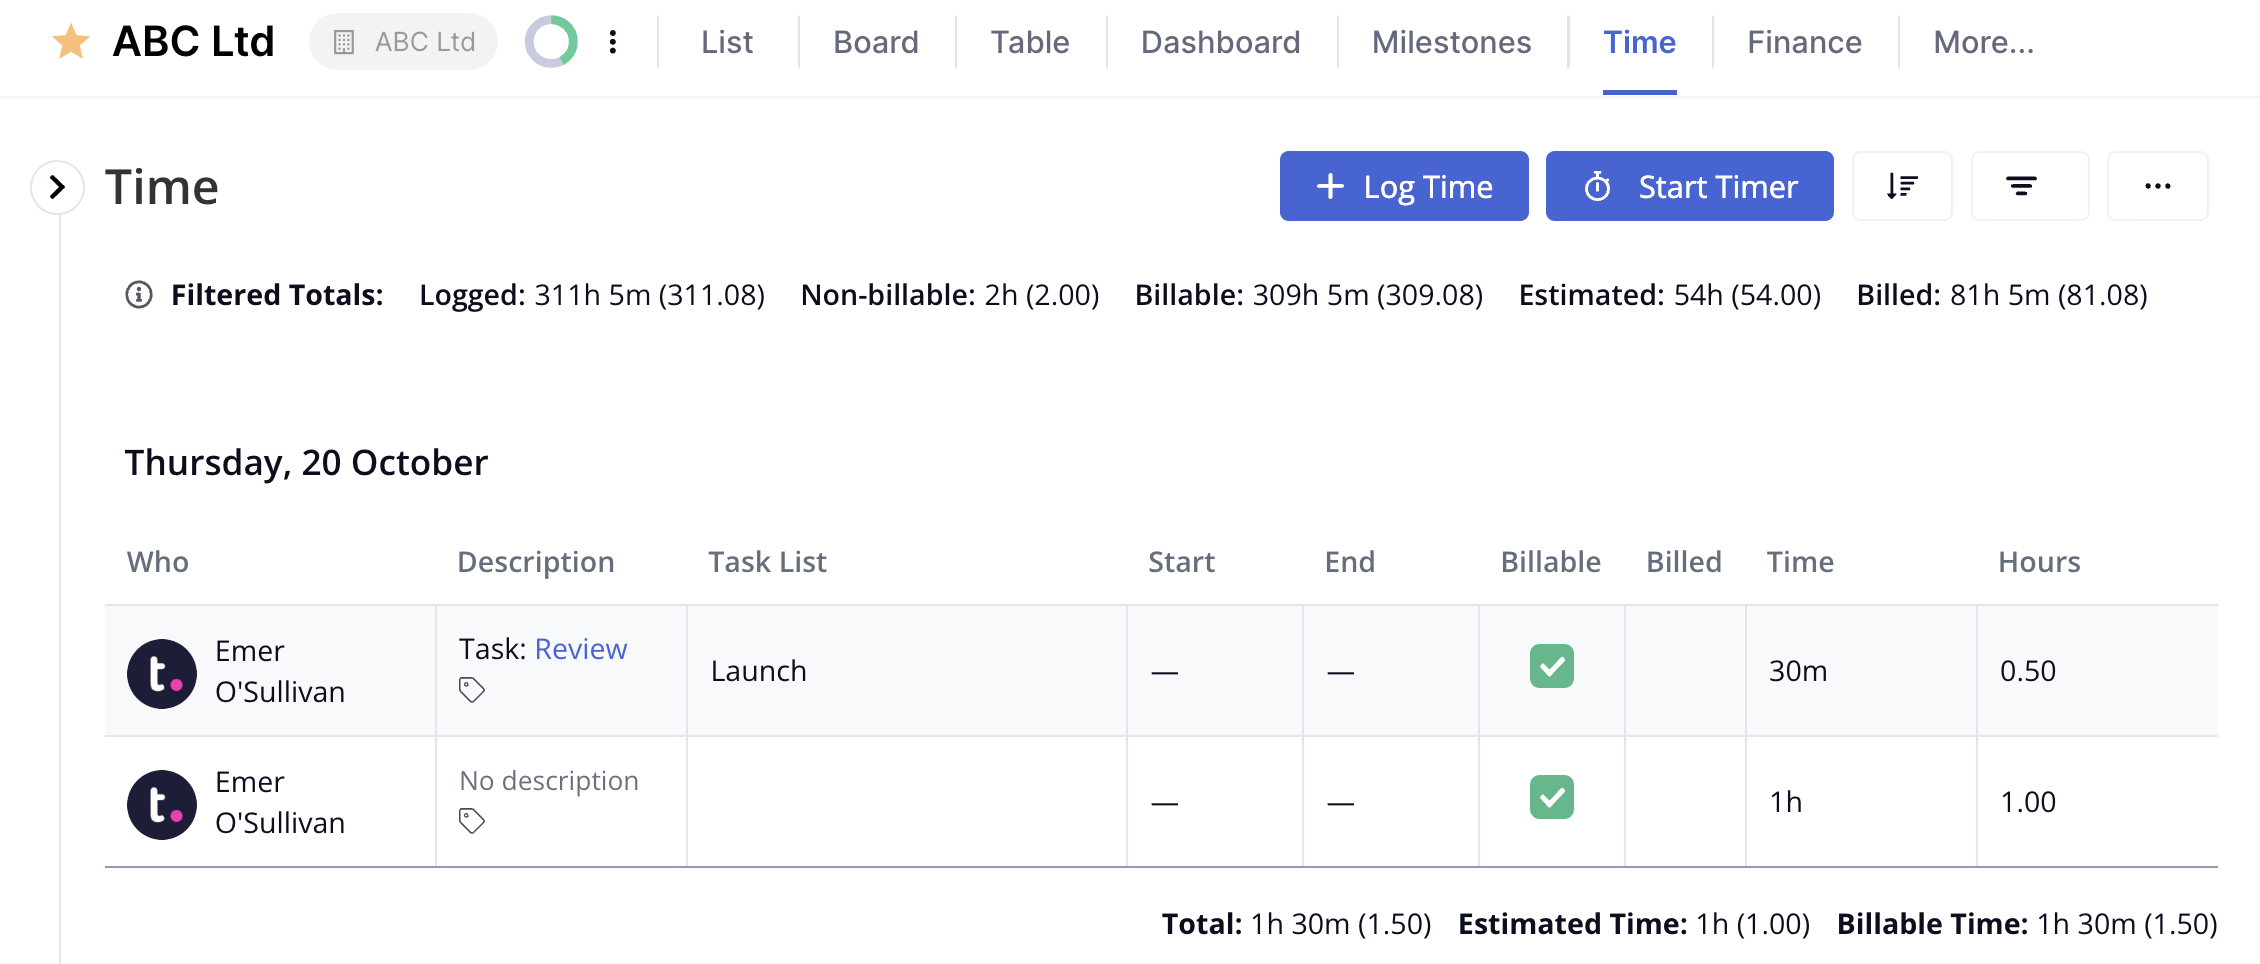
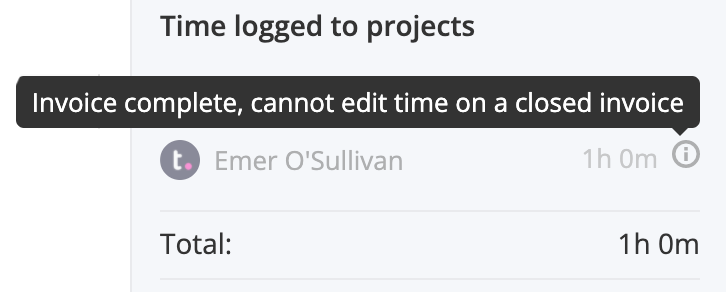
Any time you log from a ticket to a project and mark as billable can be used to generate an invoice on your project.
Once an invoice has been completed, you will not be able to edit any of the ticket's time logs included in that invoice.
For more information, see: Creating a Task in a Ticket